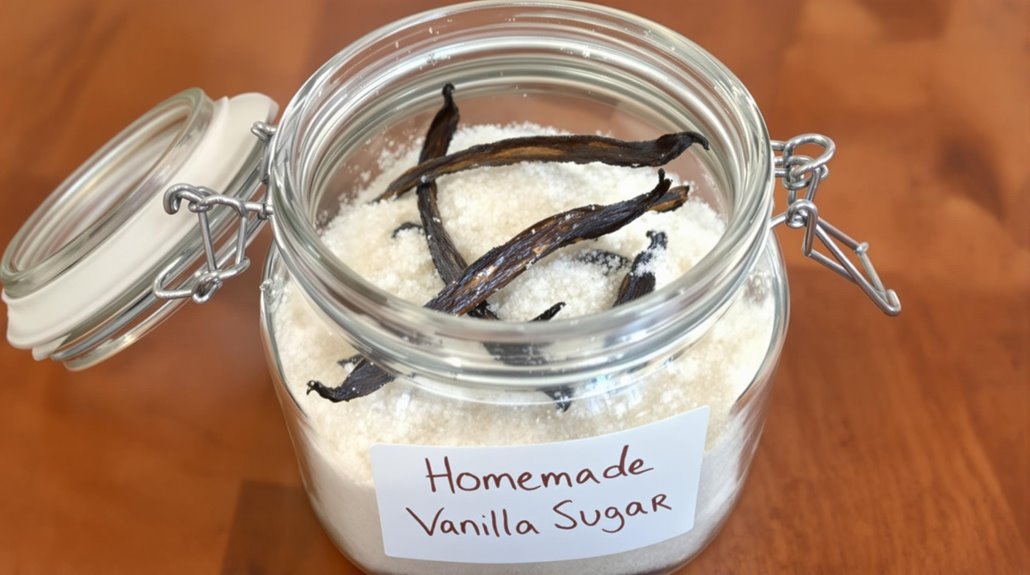
How to Make Vanilla Sugar at Home
To make your own vanilla sugar at home, start by selecting supple and aromatic vanilla beans. Split each bean lengthwise and scrape out the flavorful seeds. Layer the split bean pods and seeds with granulated sugar in an airtight jar or container. Cure the mixture for at least 4 weeks, shaking it every few days to distribute the vanilla essence. The sugar will gradually take on a rich, golden hue and heavenly vanilla scent. Store your homemade vanilla sugar properly, and you'll open up a world of delicious possibilities in your baking and beyond.
Ingredients and Supplies
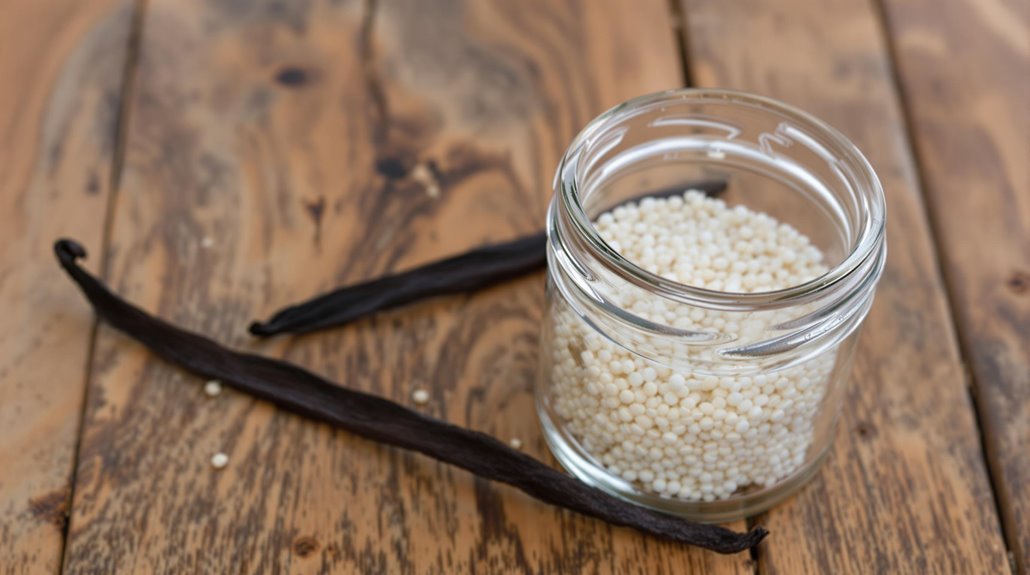
To make your own vanilla sugar at home, you'll need just a few simple ingredients and supplies. First, choose the right container - a clean, airtight jar or container is essential to keep your vanilla sugar fresh. When determining the ideal sugar to bean ratio, a good rule of thumb is to use about 1 vanilla bean per 1 cup of sugar. Split the vanilla bean lengthwise and place it in the container with the sugar. Cover the container and let the flavors infuse for at least 2 weeks, shaking or stirring the mixture occasionally. The longer you let it sit, the more intense the vanilla flavor will become. Once the sugar is infused with the vanilla, you can use it just like regular sugar in baking, beverages, or sprinkled on top of desserts. Enjoy the rich, aromatic flavor of homemade vanilla sugar in all your favorite recipes. The vanilla's sweet aroma comes from tiny vanillin crystals that naturally form on properly cured vanilla beans.
Preparing the Vanilla Beans
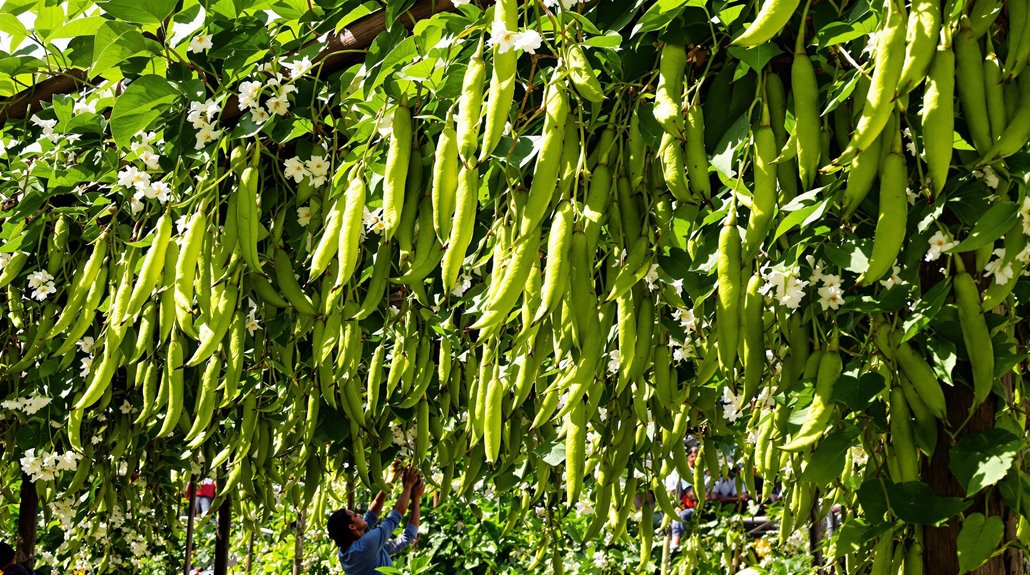
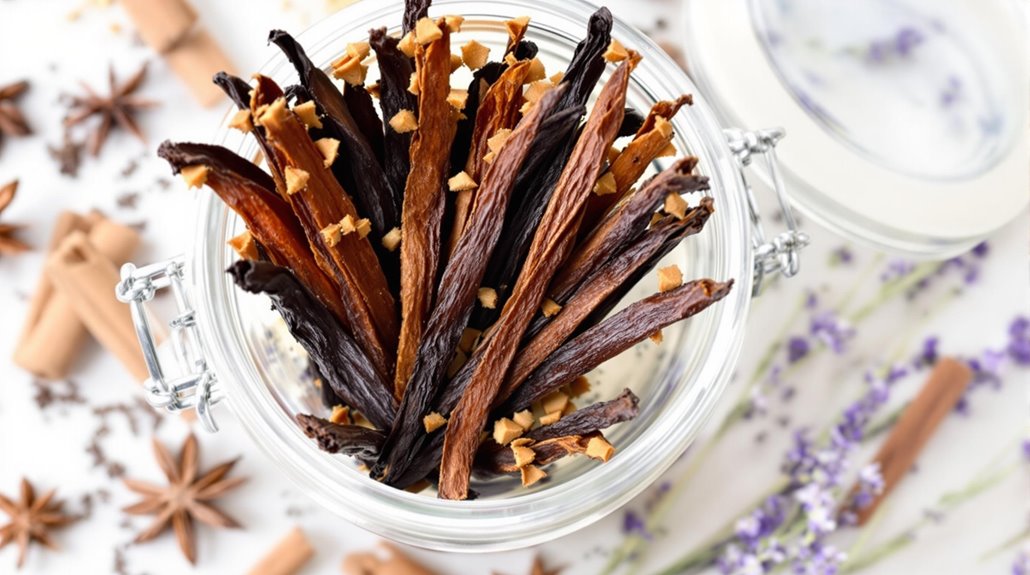
Prepare the vanilla beans by first selecting ones that are supple and aromatic. Choose high-quality vanilla beans, as they'll provide the best flavor and aroma. Look for beans that are pliable, glossy, and have a rich, vanilla-forward scent. Avoid any that are dry, brittle, or have an off-putting odor.
Once you've selected the perfect vanilla beans, it's time to prepare them for use. Carefully split each bean lengthwise using a sharp knife. This will expose the tiny, flavorful seeds within, which you'll want to preserve. Next, use the back of the knife to scrape out the seeds, being mindful not to waste any. These seeds are the heart of the vanilla flavor, so you'll want to incorporate them fully into your sugar.
Finally, place the split vanilla bean pods and the scraped seeds into an airtight container with the granulated sugar. This will allow the vanilla flavor to infuse the sugar, preserving the aromatic compounds for maximum flavor. The antioxidant properties of vanilla will help preserve the sugar mixture while providing additional health benefits.
Layering the Sugar
After preparing the vanilla beans, you can begin layering the sugar. Start by choosing a layering pattern that suits your preferences. One popular technique is to alternate between a layer of sugar and a layer of vanilla beans, creating distinct vanilla-infused sections. Alternatively, you can completely cover the bottom of your container with a layer of sugar, then add the vanilla beans, and finish with another layer of sugar.
When layering, be mindful of the amount of sugar and the placement of the vanilla beans. Aim for an even distribution to guarantee the flavor permeates the sugar consistently. Gently press down each layer to compact the ingredients and remove any air pockets. Repeat the layering process until you've used all the sugar and vanilla beans. Remember, the more layers you create, the more surface area the vanilla will have to infuse the sugar. Similar to making scented beeswax candles, you can enhance the vanilla aroma by adding a touch of honey to the mixture.
Curing the Vanilla Sugar
Once you've layered the sugar and vanilla beans, it's time to let the curing process begin. The curing duration is paramount, as it allows the vanilla flavor to infuse the sugar thoroughly. Typically, you'll want to let the mixture cure for at least 4 weeks, but 6 to 8 weeks will result in a more pronounced vanilla aroma and taste.
During the curing period, you'll need to shake the container every few days to ascertain even distribution of the vanilla essence. This will also help maintain the sugar's granularity, preventing it from clumping. As the vanilla cures, the sugar will gradually take on a rich, golden hue and a heavenly vanilla scent.
Once the curing is complete, your homemade vanilla sugar is ready to use. Whether you're baking, brewing coffee, or sprinkling it over fresh fruit, this fragrant sugar will add a wonderful touch of vanilla to your culinary creations. Similar to essential oil ratios used in drawer liners, the strength of vanilla flavor can be adjusted by varying the amount of vanilla beans used in your mixture.
Storing the Vanilla Sugar
Proper storage is essential to preserving the flavor and aroma of your homemade vanilla sugar. You'll want to keep it in airtight containers, away from direct sunlight and heat. This will help lock in the vanilla essence and prevent the sugar from absorbing unwanted odors.
Consider these storage options:
- Glass jars with tight-fitting lids
- Resealable plastic bags or containers
- Ceramic or porcelain containers with airtight seals
As for shelf life, your homemade vanilla sugar can typically last for several months when stored properly. However, keep an eye on the color and scent – if it starts to lose its lively appearance or subtle vanilla fragrance, it's time to use it up or start fresh. With the right storage techniques, you can enjoy the captivating flavors of your homemade vanilla sugar for weeks to come. The natural vanilla extract provides a warm and cozy ambiance while avoiding artificial formulas commonly found in store-bought products.
Using Vanilla Sugar
One of the best things about homemade vanilla sugar is its versatility. You can use it to augment a variety of culinary applications, from baked goods to beverages. Its rich, aromatic flavor pairs beautifully with many ingredients, including chocolate, berries, citrus, and warm spices.
Sprinkle vanilla sugar over oatmeal, yogurt, or fresh fruit for a simple yet indulgent breakfast. Incorporate it into cookie, cake, or muffin batters for a charming vanilla infusion. Stir it into your morning coffee or tea for a cozy, comforting start to the day. You can even use it to rim the glasses of vanilla-based cocktails or mocktails.
Beyond sweet applications, vanilla sugar can also add depth and complexity to savory dishes. Rub it onto roasted vegetables, meats, or poultry before cooking for a subtle, caramelized flavor. Consider combining vanilla sugar with cinnamon and orange to create a unique, energizing blend that offers both comfort and brightness. Experiment with flavor pairings and find new ways to incorporate this versatile ingredient into your culinary repertoire.
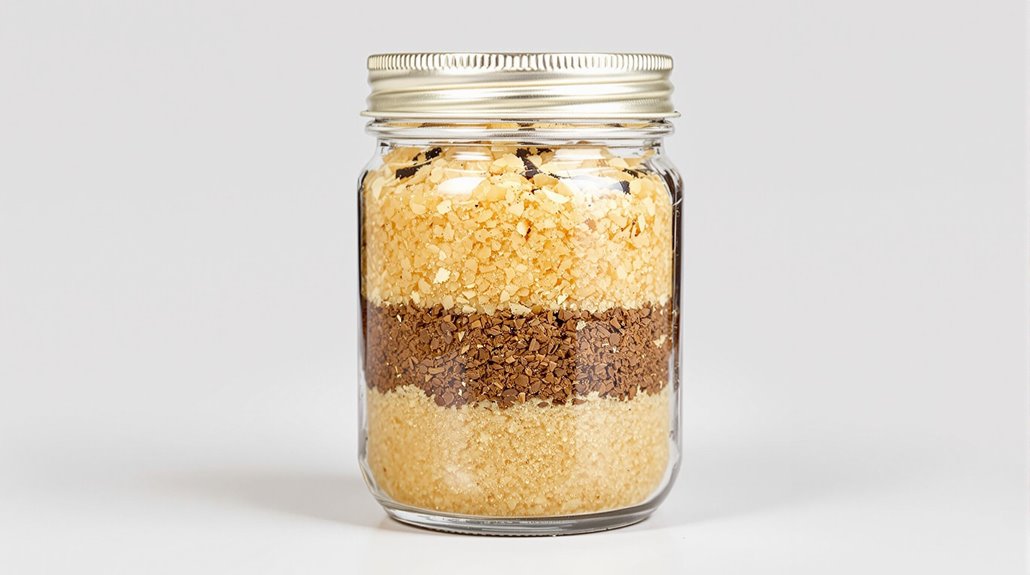
Variations and Customizations
The beauty of homemade vanilla sugar lies in its customizability. You can easily create your own flavored sugar blends to suit your tastes and preferences.
- Try infusing your vanilla sugar with fragrant spices like cinnamon, cardamom, or star anise for a warm, inviting aroma.
- Experiment with dried citrus peels, such as lemon or orange, to lend a bright, zesty note to your sugar.
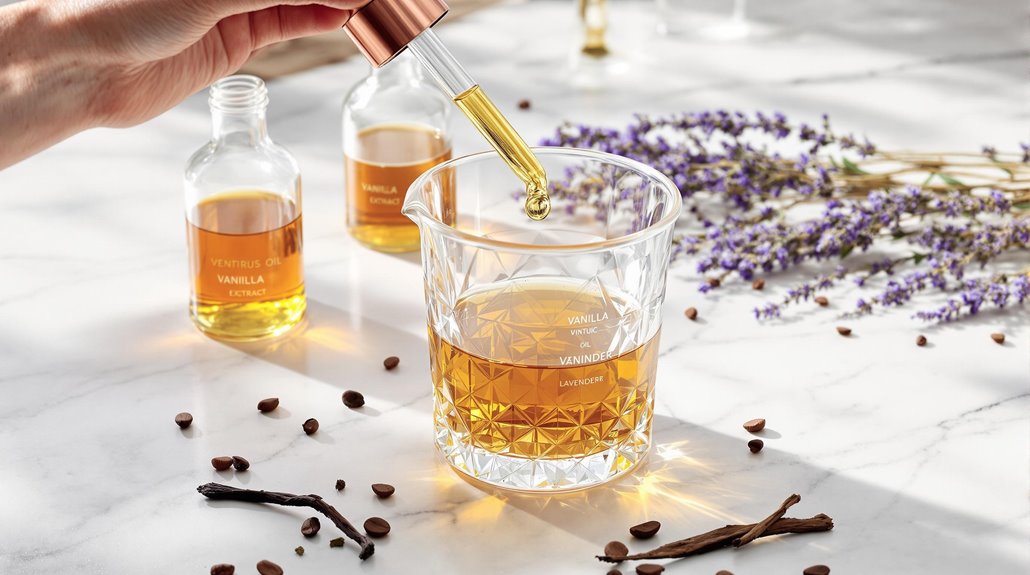
- Incorporate ground coffee beans or cocoa powder for a rich, decadent twist on the classic vanilla flavor.
These infused sugar recipes allow you to get creative and craft unique, personalized gifts or treat yourself to something special. Embrace the versatility of homemade vanilla sugar and access a world of flavorful possibilities. The sensory experience of crafting scented sugar blends can create a positive mood and evoke cherished memories through aromatherapy.
Related posts