How to Make Sandalwood Incense at Home
To make your own sandalwood incense at home, start by sourcing high-quality, sustainably-sourced sandalwood powder. Create a binding paste with flour, water, and essential oils, then roll the powder-coated incense sticks. Allow them to fully dry and cure before storing in an airtight container. When ready to use, simply light the incense and enjoy the warm, grounding aroma that fills your space. For more detailed instructions on customizing the fragrance and ensuring a safe experience, keep reading.
Gather Necessary Ingredients
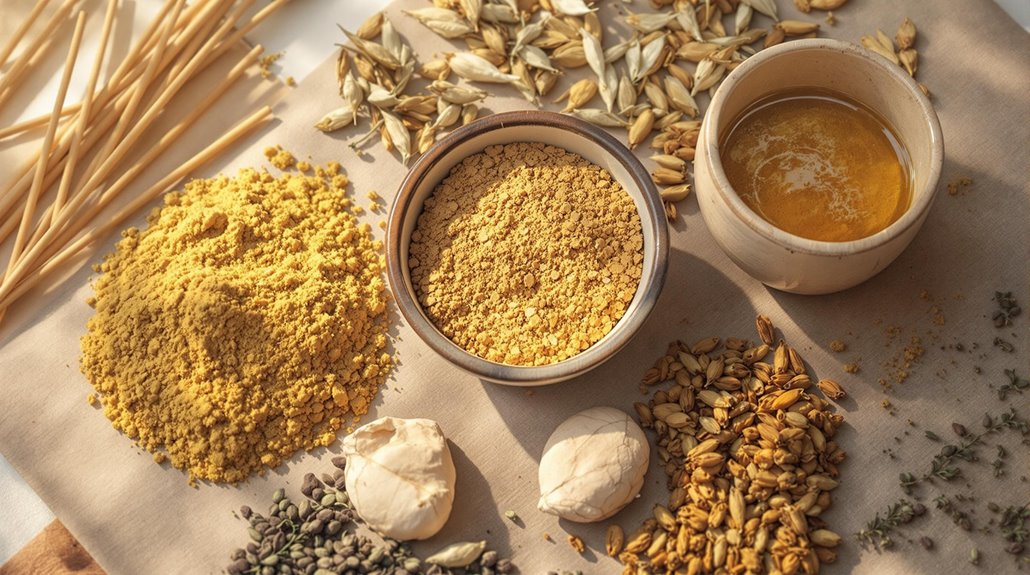
To make sandalwood incense at home, you'll need a few key ingredients. First, you'll need sandalwood powder, which you can obtain through sustainable harvesting methods and ethical sourcing practices. Sandalwood is a precious natural resource, so it's important to be mindful of its environmental impact. Next, you'll need a binding agent, such as gum Arabic or plant-based resin, to help hold the incense together. Charcoal powder is also essential, as it provides the base for the incense to burn. Finally, you may want to add essential oils or aromatic herbs to customize the scent of your homemade incense.
Consider using high-quality, natural ingredients to guarantee a safe and enjoyable experience. With all these components, you'll be well on your way to creating your own unique sandalwood incense blend right at home. The sweet woody aroma of sandalwood has been valued for centuries in religious and spiritual practices across Asia and the Middle East.
Prepare the Sandalwood Powder
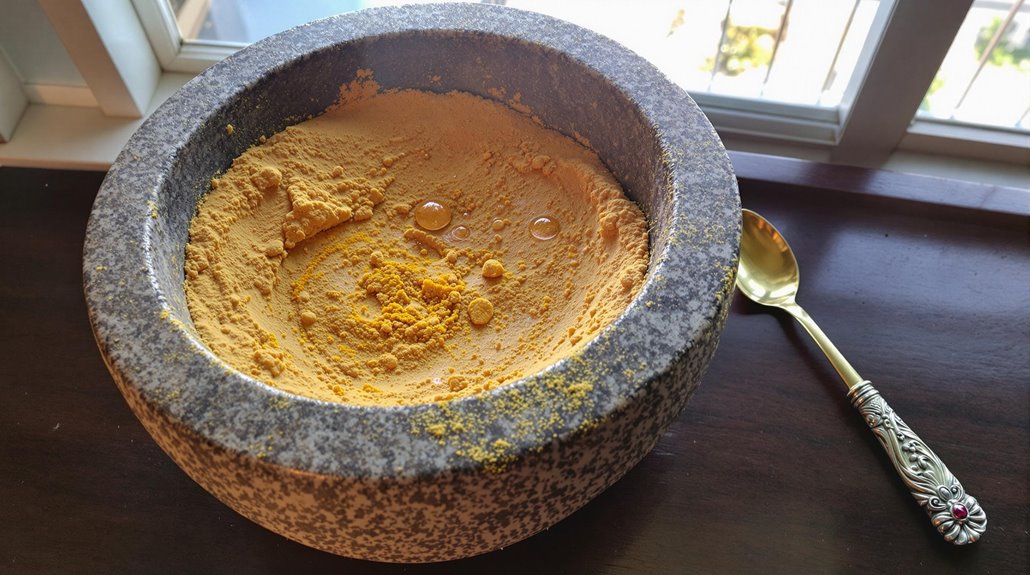
The first step in creating your homemade sandalwood incense is to properly prepare the sandalwood powder. Sourcing high-quality sandalwood is pivotal, as the quality of your final product depends on it. Look for pure, unadulterated sandalwood powder from reputable suppliers. Avoid any powders that may be diluted or mixed with other ingredients.
Once you have your sandalwood powder, it's important to store it correctly. Keep the powder in an airtight container, away from direct sunlight and moisture. This will help preserve the essential oils and fragrance of the sandalwood. When you're ready to use the powder, gently sift it through a fine mesh strainer to certify a smooth, consistent texture. Genuine sandalwood powder should have a coarse and uneven texture before sifting and maintain its distinct aromatic profile throughout the process.
Create the Binding Paste
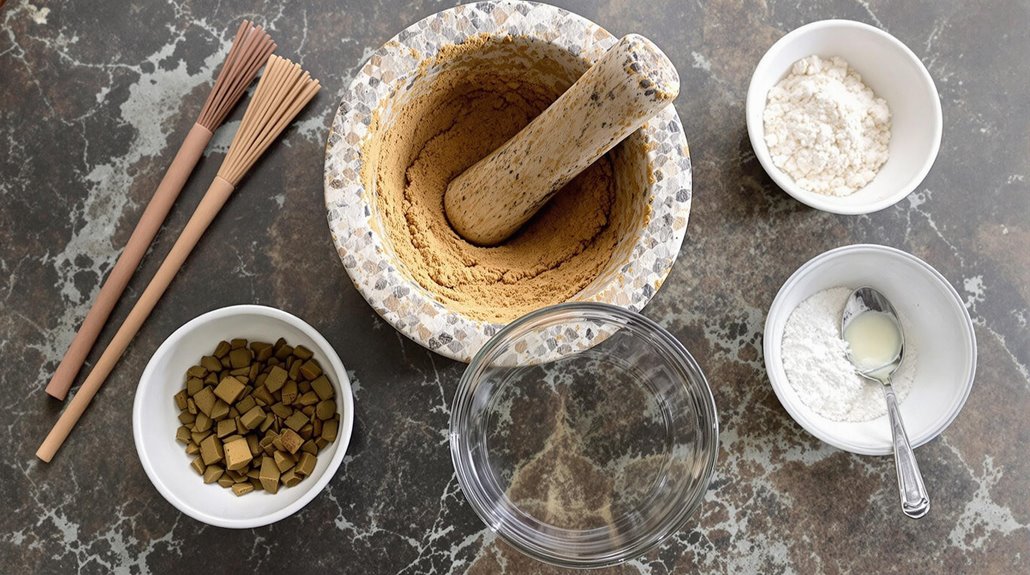
With the sandalwood powder prepared, you can now create the binding paste that will hold your incense together. To make the binding paste, you'll need a few simple ingredients: flour, water, and essential oils. Start by mixing a tablespoon of flour with two tablespoons of water in a small bowl, stirring until the mixture forms a smooth, paste-like consistency.
The binding paste recipe is flexible, so you can adjust the amounts to suit your needs. If the paste is too thick, add a bit more water. If it's too thin, incorporate more flour. Once you've achieved the desired consistency, consider adding a few drops of sandalwood or other essential oils to enhance the fragrance.
The binding paste will act as the glue that holds your sandalwood incense together. Apply a small amount to the base of your incense sticks or cones, then roll them in the sandalwood powder to coat the surface. Allow the paste to dry completely before lighting your homemade incense. Similar to candle-making techniques, maintaining proper consistency helps create a more satisfying and therapeutic crafting experience.
Roll the Incense Sticks
Next, take the binding paste you prepared and use it to roll your sandalwood incense sticks. Ensuring proper rolling technique is imperative for creating uniform, high-quality sticks. Start by taking a small amount of the paste and rolling it between your palms, applying gentle pressure to create a smooth, cylindrical shape. As you roll, be mindful of maintaining an even thickness throughout the stick, avoiding any bulges or irregularities.
Avoiding common rolling mistakes is also vital. Don't overload the paste, as this can lead to sticks that are too thick or uneven. Similarly, be careful not to use too little paste, as this can result in fragile, crumbling sticks. Keep your hands clean and lightly dampened to prevent the paste from sticking to your skin. Roll the sticks gently, using a back-and-forth motion, rather than excessive force, which can distort the shape.
Once you've rolled the sticks to your desired size, set them aside to dry completely before proceeding to the next step. The creamy texture of sandalwood will help create a smooth, even consistency in your incense sticks.
Allow to Dry and Cure
Once the sandalwood incense sticks have been carefully rolled, it is imperative to allow them to dry and cure thoroughly. This process takes time, but it is critical for ensuring the incense sticks hold their shape and develop the rich, aromatic fragrance you're seeking.
Find a well-ventilated area with moderate sunlight exposure, and gently arrange the incense sticks on a clean, flat surface. Allow them to dry for 24 to 48 hours, monitoring the process closely. The sticks should become firm and rigid as the moisture evaporates.
After the initial drying period, you can move the incense sticks to a darker, more controlled environment to continue the curing process. Over the next few days to a week, the sticks will further solidify and the scent will deepen and intensify. Be patient and resist the urge to hasten the process - rushing the drying and curing can compromise the quality of your homemade sandalwood incense.
For enhanced potency and traditional authenticity, you can sprinkle additional powdered incense on the sticks once they're completely dry.
Storing the Finished Incense
After allowing your homemade sandalwood incense sticks to thoroughly dry and cure, it's time to ponder how you'll store them. Proper storage conditions are essential to maintaining the fragrance and longevity of your handcrafted creations. An ideal container selection is key - opt for airtight, light-resistant jars or tins that'll shield your incense from environmental factors like air, moisture, and sunlight.
Store your sandalwood incense in a cool, dry place, away from direct heat or sunlight. This helps prevent the essential oils from dissipating prematurely. Consider placing silica gel packs in the container to further absorb any lingering moisture. Tightly seal the lid or cap to lock in the alluring scent. When ready to use, simply open the container and allow the warm, woody aroma to fill the air. With the right storage methods, you can enjoy your homemade sandalwood incense for months to come. Your handcrafted incense will serve as a natural air freshener without releasing harsh chemicals into your environment.
Burning the Homemade Incense
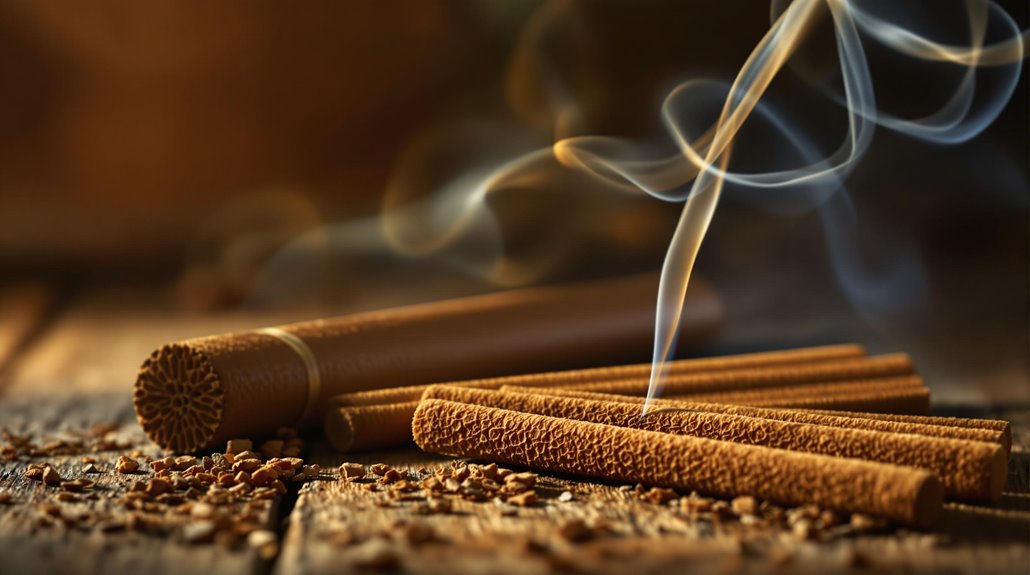
Finally, it's time to enjoy the fruits of your labor. Burning your homemade sandalwood incense is easy, but it requires some care and attention. Start by choosing a well-ventilated area, such as near an open window or outside on a patio. This guarantees proper airflow and prevents any smoke buildup.
When lighting your incense, use a match or a lighter. Gently touch the flame to the tip of the incense stick or cone, allowing it to catch the flame. Once lit, blow out the flame, leaving behind a glowing ember. This slow-burning technique helps the incense release its fragrance gradually.
Be mindful of the burn time, as sandalwood incense can burn for quite a while. Extinguish the incense when it's no longer emitting fragrance or if you need to leave the area. Always exercise caution and keep a close eye on the burning incense. Enjoy the calming aroma of your homemade sandalwood incense and the sense of accomplishment it brings.
For a cozy winter ambiance, try placing winter warmth logs treated with a few drops of sandalwood oil in your fireplace while burning the incense.
Customizing the Fragrance
Tailoring the fragrance of your homemade sandalwood incense allows you to create a scent that perfectly suits your preferences. Experimenting with essential oils is the key to customizing the fragrance. Try blending sandalwood with other aromatic oils like cedarwood, patchouli, or frankincense to create unique scent combinations.
Start by incorporating a few drops of your chosen essential oils into the incense mixture before forming the cones or sticks. Experiment with different ratios to find the perfect balance of scents. You might even want to try layering the oils, adding one type first and then another on top.
Blending scent combinations also lets you adjust the intensity of the fragrance. Add more essential oils for a stronger aroma or use less for a more subtle scent. Keep notes on your experiments so you can replicate your favorite blends in the future.
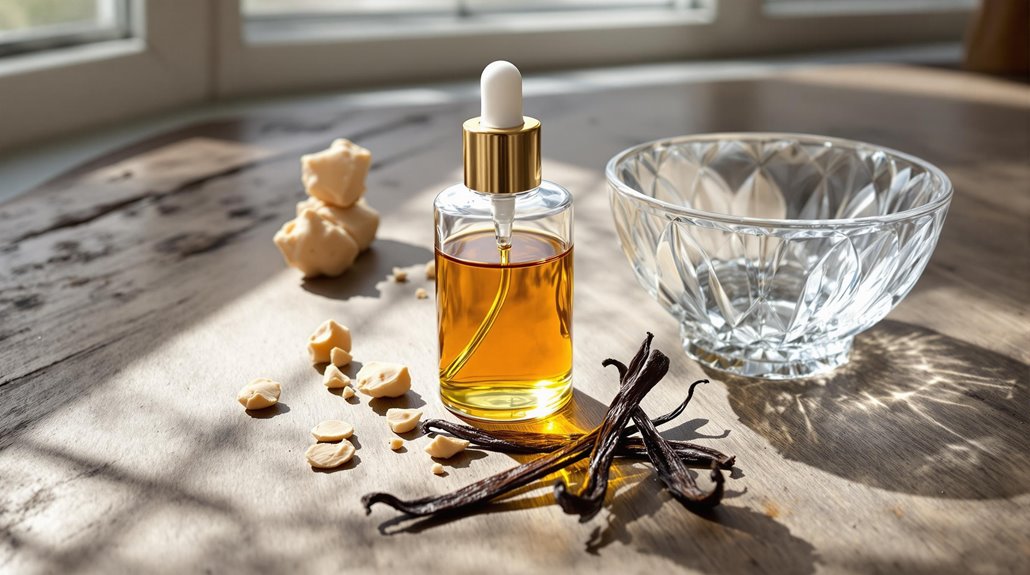
Customizing the fragrance of your homemade sandalwood incense is a fun way to create a personalized aromatic experience. Consider adding vanilla essential oil to create a warm, musky base note that complements sandalwood perfectly.
Safety Considerations
When making sandalwood incense at home, it's important to prioritize safety considerations. Proper ventilation is vital to guarantee your workspace doesn't become filled with smoke or fumes. Open windows or use a well-functioning exhaust fan to maintain airflow and prevent respiratory irritation.
Secondly, be mindful of fire hazards. Incense can easily ignite flammable materials, so keep your work area clear of any potentially combustible items. Use heat-resistant surfaces and containers, and never leave burning incense unattended. Additionally, have a fire extinguisher nearby in case of emergencies.
It's also wise to wear protective gear, such as gloves, to avoid skin irritation from the essential oils or other ingredients. Avoid inhaling the smoke directly, and take breaks to step away from the incense-making process. By prioritizing safety, you can enjoy the process of crafting your own sandalwood incense while minimizing potential risks. Since candle-related fires account for approximately 20 reported incidents daily in the United States, maintaining proper safety protocols is crucial when working with any burning materials.
Related posts