How to Make Homemade Vanilla Extract: A Simple Guide
To craft your own homemade vanilla extract, start by gathering premium vanilla beans and high-proof neutral alcohol. Choose beans from Madagascar, Mexico, or Tahiti for the best flavor. Cut or split the beans, then steep them in the alcohol for 4-6 weeks, shaking the mixture occasionally. Once infused, carefully bottle your extract and add decorative labels. Store the sealed bottles in a cool, dark place and let the extract age for at least 6 months to fully develop its rich, aromatic character. Explore the complete step-by-step process for making exceptional homemade vanilla extract.
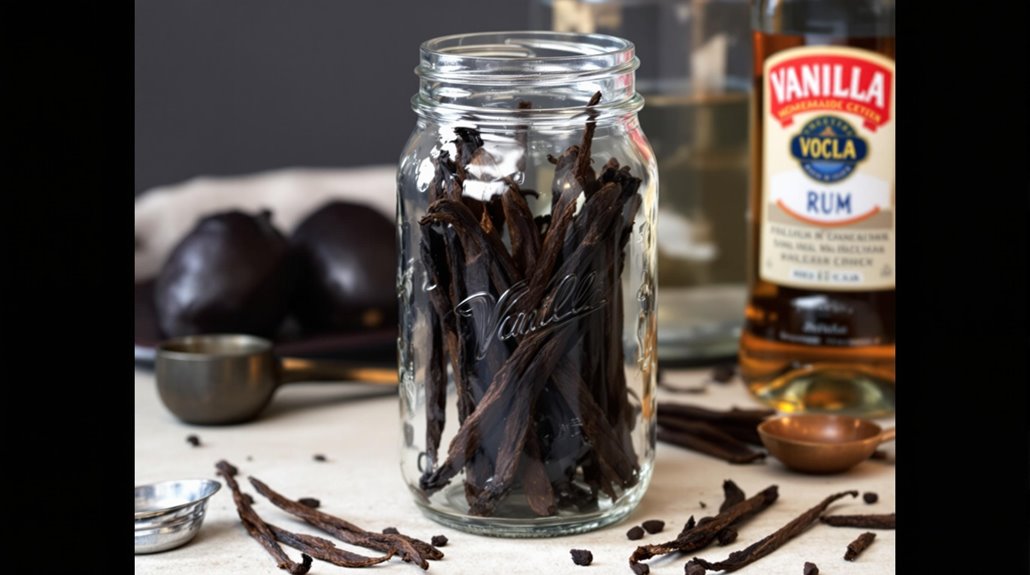
Gather the Necessary Ingredients
To make homemade vanilla extract, you'll need a few simple ingredients. First, you'll want to buy quality vanilla beans. Look for plump, supple beans that are rich in color. Madagascar and Tahitian vanilla beans are excellent choices. You'll also need a suitable alcohol, like vodka, rum, or bourbon. The alcohol will extract the vanilla flavor from the beans.
When selecting your alcohol, opt for a neutral-tasting variety that's at least 80 proof. This will confirm the vanilla flavor shines through. Avoid using lower-proof spirits, as they may not extract the flavor properly.
Next, you'll need some sterilized jars or bottles to store your homemade extract. Mason jars work well, as do repurposed vanilla extract bottles. Make sure your containers have airtight lids to prevent the alcohol from evaporating. With your ingredients gathered, you're ready to start infusing your vanilla extract! According to FDA regulations, your homemade extract should contain a minimum of 35% alcohol content to be considered pure vanilla extract.
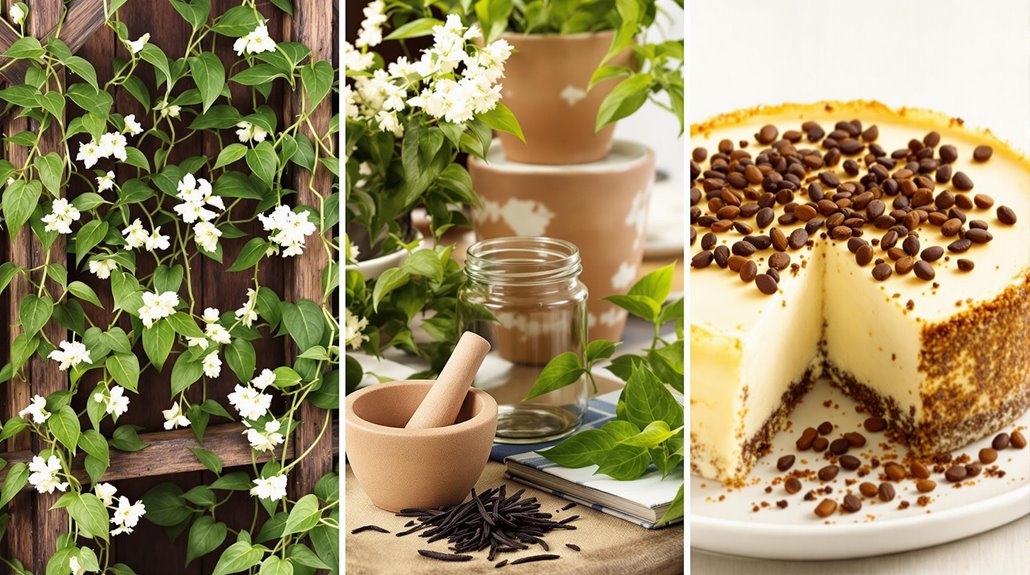
Choose the Right Vanilla Beans
When choosing the right vanilla beans for your homemade extract, select plump, supple beans that are rich in color. The quality of your vanilla beans will directly impact the flavor and aroma of your final product, so it's important to choose wisely.
Consider these factors when selecting your vanilla beans:
- Origin: Vanilla beans from Madagascar, Mexico, and Tahiti are typically considered the highest quality. These regions are known for producing the most flavorful beans.
- Moisture content: Ideal vanilla beans should be pliable and have a slightly oily, moist texture. Avoid dry, brittle beans.
- Size: Longer beans, typically 6-8 inches, tend to have a more vigorous flavor profile.
- Appearance: Look for beans that are dark brown or black in color, with a distinct, aromatic scent. Avoid any beans that appear shriveled or discolored.
The resulting extract will contain antioxidant compounds that can help prevent skin damage and slow down signs of aging.
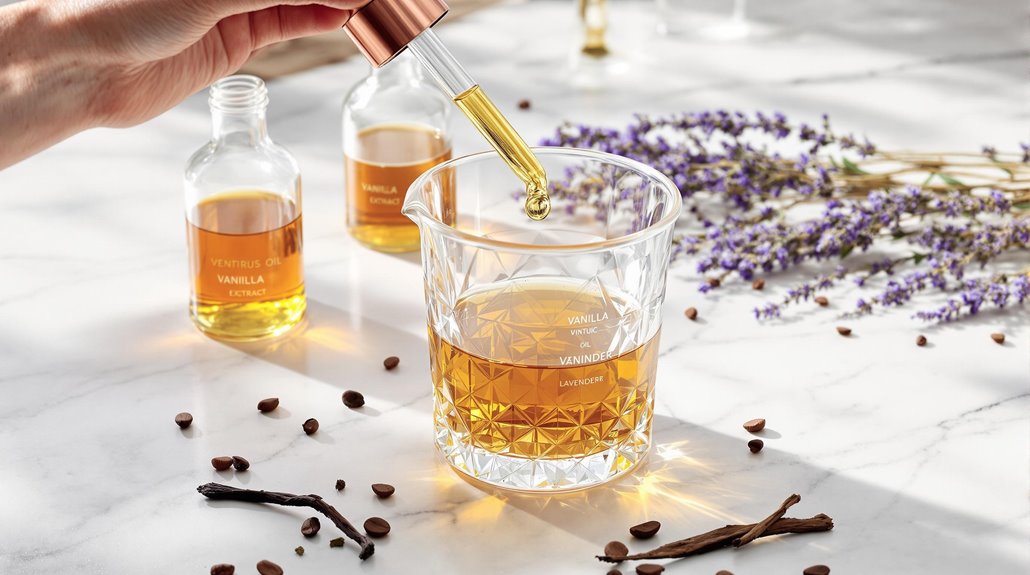
Prepare the Vanilla Extract Mixture
Once you've selected your high-quality vanilla beans, it's time to prepare the extract mixture. Measure the ingredients carefully, as the ratios are vital for a properly balanced extract. You'll need to combine the vanilla beans and the preferred alcohol, such as vodka or bourbon, in a clean, airtight jar or bottle.
Typically, you'll want to use about 3-4 vanilla beans per 8 ounces of alcohol. Cut or split the beans lengthwise to expose more surface area, then add them to the jar. Combine the ingredients thoroughly, ensuring the beans are fully submerged in the alcohol.
Cover the jar and let the mixture steep for at least 4-6 weeks, shaking it occasionally. The longer you let it steep, the more intense the flavor will become. Keep the jar in a cool, dark place during this process to preserve the quality of the extract. With patience and attention to detail, you'll be rewarded with a rich, aromatic homemade vanilla extract. While this extract works well in baking, avoid using it in candle making projects as it's not suitable for commercial candle production.
Bottle and Label the Extract
With the extraction process complete, it's time to bottle and label your homemade vanilla extract. Grab your clean, dry bottles or jars and start the bottling process. Consider using decorative bottle design to make your extract visually appealing.
Creating vanilla extract in attractive vessels can help enhance visual appeal while contributing to your home's overall ambiance.
When labeling, you can get creative with personalized label options. This is your chance to showcase your homemade vanilla extract and make it unique. You can include:
- The extract's name or your own branding
- The date it was made
- Ingredients used
- Suggested uses or serving suggestions
Once the bottles are filled and labeled, store them in a cool, dark place. The vanilla extract will continue to develop flavor over time, so be patient and enjoy the fruits of your labor. Homemade vanilla extract makes a wonderful gift or addition to your own pantry, so have fun with the final presentation.
Storing and Aging the Vanilla Extract
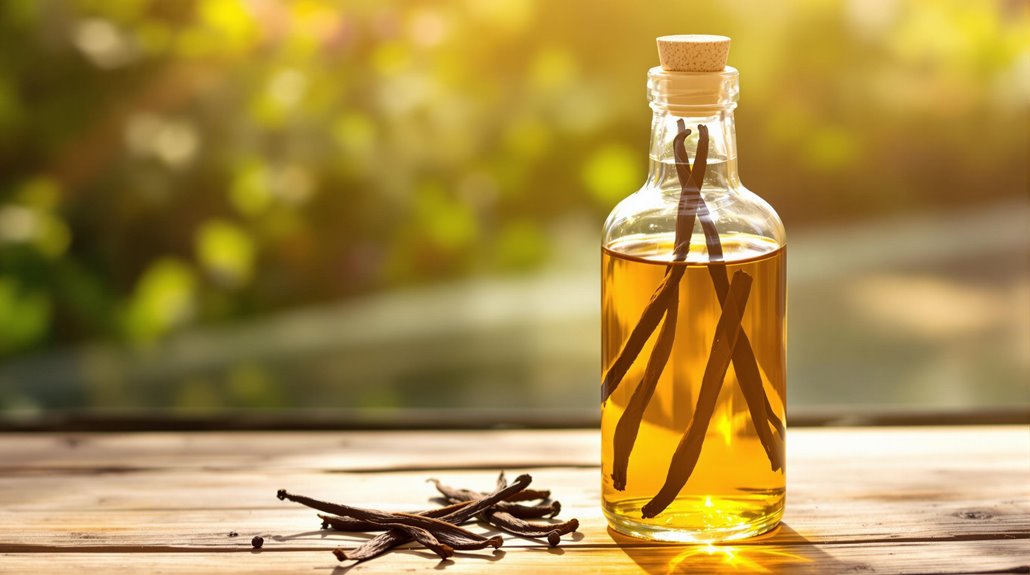
After bottling and labeling your homemade vanilla extract, it's important to properly store and age it. Proper storage conditions are essential for the extract to develop its full flavor profile. Store the sealed bottles in a cool, dark place, like a pantry or cupboard. Avoid exposing the extract to direct sunlight or fluctuating temperatures, as these can degrade the quality.
The extended aging process is what truly transforms the vanilla extract. While it's ready to use immediately, the flavor will continue to mature and mellow over time. Let the extract age for at least 6 months, but even 1-2 years will result in a deeper, more complex flavor. As the vanilla beans steep, the extract will darken in color and develop a richer aroma.
When ready to use, the vanilla extract can be stored indefinitely. Just be sure to reseal the bottles tightly after each use to maintain the quality. With proper storage and patience, your homemade vanilla extract will become a treasured pantry staple. Similar to creating drawer liner fragrances, you can experiment with vanilla extract ratios to achieve your desired scent intensity.
Using Your Homemade Vanilla Extract
Typically, you'll want to use your homemade vanilla extract within 2 years for ideal flavor. The beauty of making your own vanilla extract is that you can use it just like you would a store-bought version. Substitute it in any recipe that calls for vanilla extract, from cakes and cookies to sauces and marinades. The rich, complex flavor of your homemade vanilla will enhance any dish.
You can also get creative and infuse your extract with other flavors:
- Try adding a cinnamon stick or a few cloves to the vanilla beans for a spiced twist.
- Toss in some orange zest or a vanilla bean pod for a citrusy note.
- Experiment with different types of alcohol, like bourbon or dark rum, for unique flavor profiles.
- Infuse the extract with other aromatic ingredients like vanilla bean powder or ground vanilla.
Enjoy the versatility and superior flavor of your homemade vanilla extract. It's a simple yet rewarding way to improve your cooking and baking. Your homemade vanilla extract can also serve as a natural air freshener that provides a warm and cozy ambiance throughout your home.
Related posts