How to Make Floating Candles for Special Occasions
To create floating candles for special occasions, start by gathering shallow, wide containers that won't tip over. Pick clear or opaque containers to set the ambiance. Arrange the candles in a cluster or pattern, guaranteeing enough space between them. Use floating discs or holders to support the candles, and consider adding submersible LED lights for extra illumination.
Remember to trim the wicks, add water as it evaporates, and extinguish the candles before the wax runs out. Paying attention to these details will ensure your floating candles create a mesmerizing and safe effect. Continue reading to plunge deeper into the process.
Gather the Necessary Supplies
To make floating candles, you'll need a few basic supplies. First, you'll want to select the candle materials - floating candle wicks, wax, and a container to hold the wax. Look for soy or paraffin wax, which work well for floating candles. You'll also need a double boiler or makeshift setup to melt the wax.
Next, investigate the candle making tools you'll need. You'll want a pouring pitcher to neatly transfer the melted wax, and a thermometer to confirm the wax reaches the proper temperature. Tweezers can help you position the wicks in the containers. Finally, have some small containers on hand, such as ramekins or tea lights, to create your floating candles.
With these basic supplies gathered, you're ready to begin making your beautiful floating candles for any special occasion. The preparation is the key to crafting splendid, professional-looking floating candles that will impress your guests. Consider adding natural elements like dried flowers or herbs to create visually striking floating candles that serve as both illumination and decoration.
Prepare the Candle Wax
Begin by melting the candle wax in a double boiler or makeshift setup. Melt the wax carefully, ensuring it doesn't get too hot. Monitor the wax temperature, keeping it between 185°F and 195°F. This temperature range will help the wax maintain its fluidity without burning.
Once the wax is fully melted, remove it from the heat. If you're using a double boiler, be cautious as the outer pan will be hot. Carefully pour the melted wax into your prepared molds, filling them about 3/4 full. This will allow room for the wax to expand as it cools and solidifies.
Let the candles cool completely before attempting to remove them from the molds. Chilling the molds in the refrigerator can speed up the cooling process. Once the wax has hardened, gently release the candles from the molds. Trim the wicks to about 1/4 inch, and your floating candles are ready to use for your special occasion. Floating candle centerpieces create a mesmerizing play of light and shadow when placed in a clear glass bowl of water.
Choose the Candle Holders
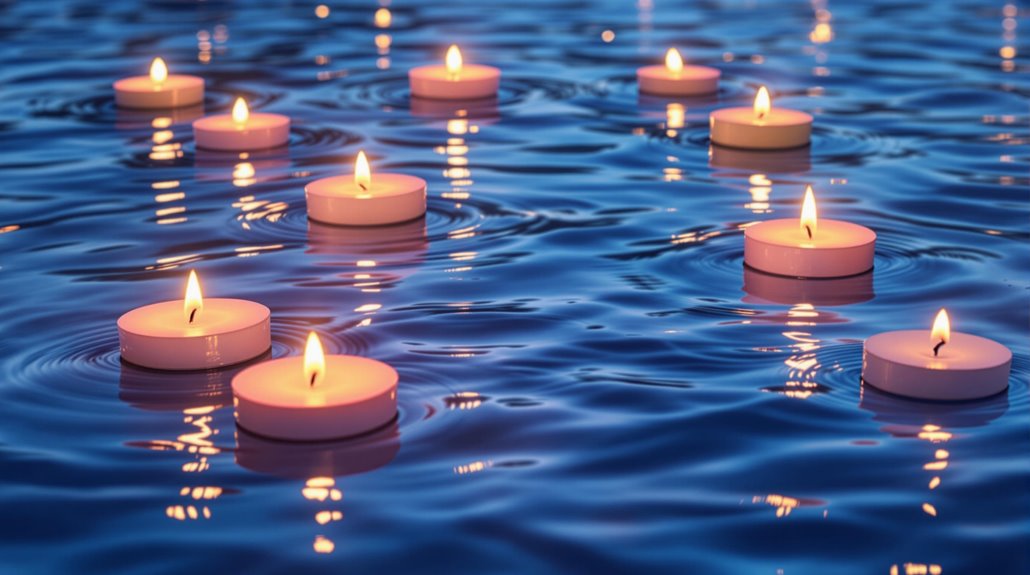
When choosing the candle holders for your floating candles, opt for shallow, wide containers that will allow the candles to rest atop the water. Choose the right size - the holders should be just a few inches wider than the candle itself, so the flame sits nicely in the center. Select fashionable holders that complement your event's decor, such as clear glass bowls or refined ceramic dishes. Avoid deep containers, as they'll make it more difficult for the candle to float.
Consider the number of candles you'll need and choose holders accordingly. If you're decorating a table, opt for multiple smaller holders spread out rather than one large container. This creates a more visually appealing arrangement. Remember to leave enough space between each holder to prevent the flames from interacting. With the right candle holders, your floating candles will not only provide beautiful ambiance but also reflect your event's style. Position all holders at least 12 inches away from any flammable materials or decorations to ensure proper fire safety.
Cut and Shape the Candles
Gather the candles you've chosen and carefully cut them to the desired size. You'll want to guarantee the candle height is appropriate for your floating candle holders. Carefully trim the wicks, leaving about 1/4 inch above the wax. This will allow the wick to remain lit while the candle floats.
Next, smoothly sand the candle surfaces to create a polished, professional look. Running fine-grit sandpaper over the candles will remove any rough edges or imperfections. Be gentle, as you don't want to damage the delicate wax.
Once sanded, wipe away any wax dust with a clean cloth. Your candles are now prepped and ready for the final steps. Arrange them in the holders and add water to create your beautiful floating display. Consider using soy wax candles for a cleaner, longer-lasting burn that's better for the environment. With a little care and attention to detail, you'll have stunning DIY floating candles that will impress your guests.
Assemble the Floating Candles
With your candles prepped, it's time to assemble them for their special floating display. Start by creating the wick support. Cut a small piece of heavy-duty aluminum foil and roll it into a tight coil, about an inch tall. This will serve as the base to keep your wick in place as the candle melts.
Next, select the candle container size. Choose a shallow, wide container, like a wide-mouthed mason jar or a pie dish. This will provide a stable platform for your floating candles. Gently place the foil wick support in the center of the container. Then, carefully set your shaped candle wax on top of the support, making sure it's centered and level.
Repeat this process for each candle you'll be using. Once they're all assembled, you're ready to add water and set your floating candles aglow for a magical ambiance at your special occasion. Maintaining your wick at a quarter inch length will ensure an even, steady burn without excessive smoke.
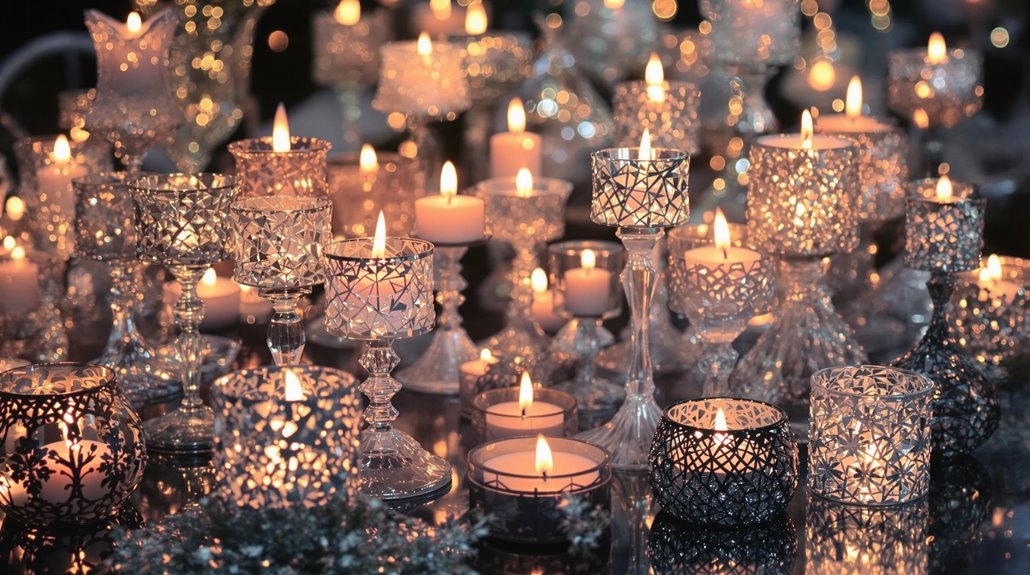
Customize the Candle Decorations
The floating candles offer a great canvas for customization. You can add personalized embellishments to make each one unique. Try using decorative washi tape, colorful ribbon, or glitter to create eye-catching patterns. Experiment with unique color schemes by painting the candle holders or selecting candles in complementary hues.
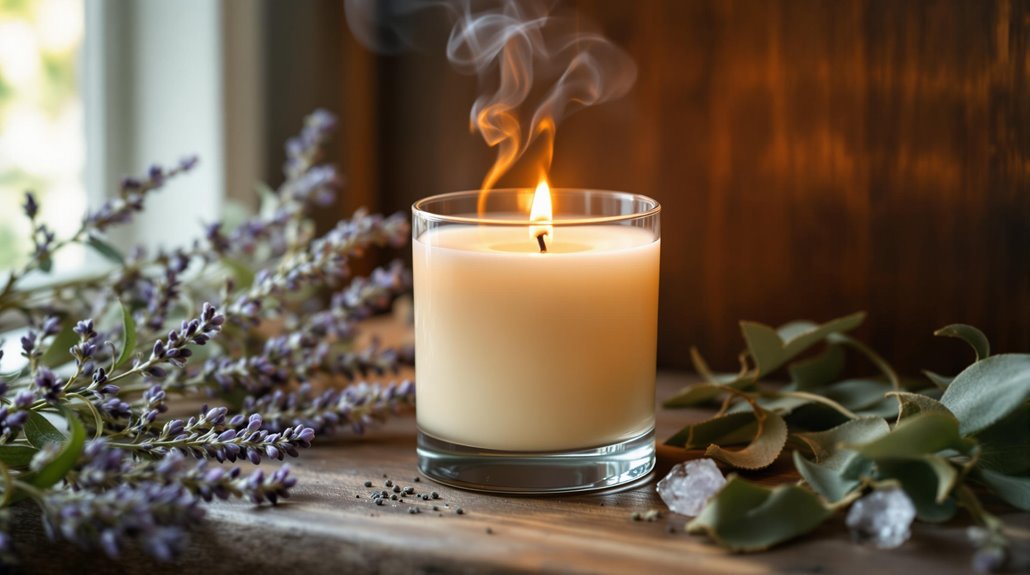
For a romantic vibe, wrap the candle holders in lace or add delicate flower petals around the base. Adventurous decorators might prefer to use miniature figurines, seashells, or other small trinkets to give the candles a playful, fanciful look. Get creative with your materials and let your personal style shine through. Consider adding a few drops of pure essential oils to the water for an enchanting aromatic ambiance.
Arrange the Floating Candles
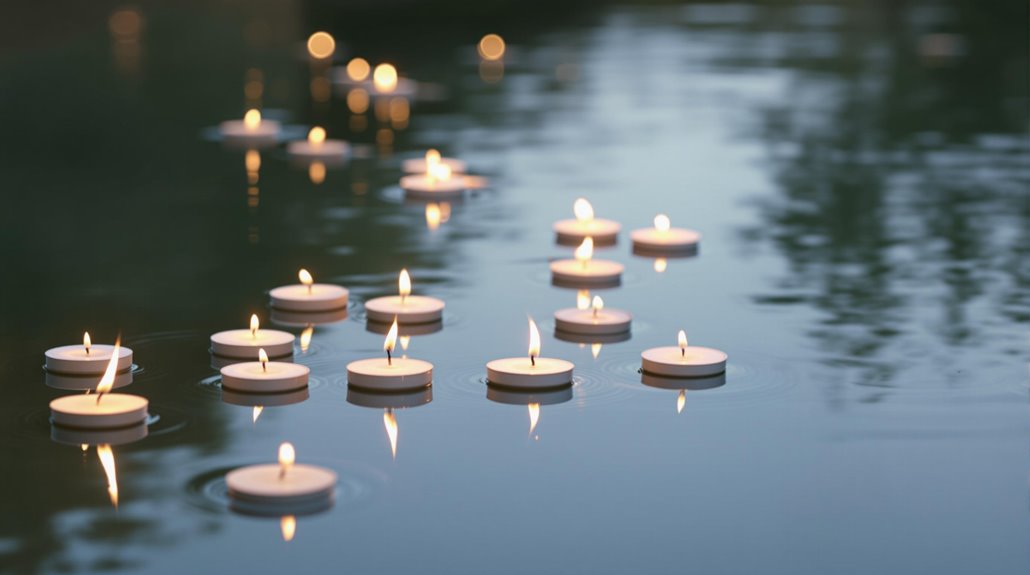
Once you've customized the floating candles, it's time to arrange them. Coordinate the candle positions to create a visually appealing display. Balance the candle placement by considering the size and shape of your container. Evenly distribute the candles, leaving enough space between them to allow for the flickering flames.
Experiment with different patterns and arrangements. You could place the candles in a straight line, a circular formation, or a more organic, scattered layout. Consider the size and proportion of your container, as well as the overall ambiance you want to to generate.
Remember to leave enough space for the candles to float freely without touching one another. This will guarantee they burn safely and evenly. Adjust the positions as needed to achieve the desired look. With a little experimentation, you'll be able to create a stunning and well-balanced floating candle display that will impress your guests. Using pure essential oils in your floating candles can help create a soothing atmosphere while providing therapeutic benefits.
Tips for Using Floating Candles
When using floating candles, be mindful of a few important tips. Waterproof wicks are essential to guarantee the candles from sinking, so make certain to use them for your floating candle creations. Additionally, consider safe candle placements to avoid any potential fire hazards.
- Opt for a shallow, wide container to prevent the candles from tipping over or floating unevenly.
- Use a clear container to allow the light to shine through and create a mesmerizing effect.
- Arrange the candles in a cluster or pattern for a visually stunning display.
- Carefully monitor the candles throughout their burning time to verify they remain afloat and extinguish them before the wax runs out.
Proper ventilation in rooms is crucial when using scented floating candles to minimize potential respiratory issues and maintain good air quality.