Mastering the Art of Candle Making at Home

To become an expert in candle making at home, you'll need quality supplies including soy or beeswax, cotton wicks, and fragrance oils. Start with a reliable double boiler setup to maintain precise temperatures between 125°F to 145°F when melting your wax. Select the right wick size for your container and secure it with a tab at the bottom. Add fragrance oils at 6-10% of wax weight once the temperature reaches 135°F. Pour carefully to prevent air bubbles, and allow proper curing time.
While these basics will get you started, there's an entire world of advanced techniques waiting to alter your candle-making odyssey.
Essential Supplies and Equipment
To create unique scents, you'll want to experiment with fragrance oils. These oils allow for endless customization of scents, and you'll want to use them at 6-10% of your wax weight for ideal results. Finally, invest in a quality pouring pitcher with a well-designed spout. This tool helps you maintain control during the pouring process, preventing spills and ensuring even wax distribution. With these essential supplies in hand, you're ready to begin your candle-making expedition.
Understanding Different Wax Types
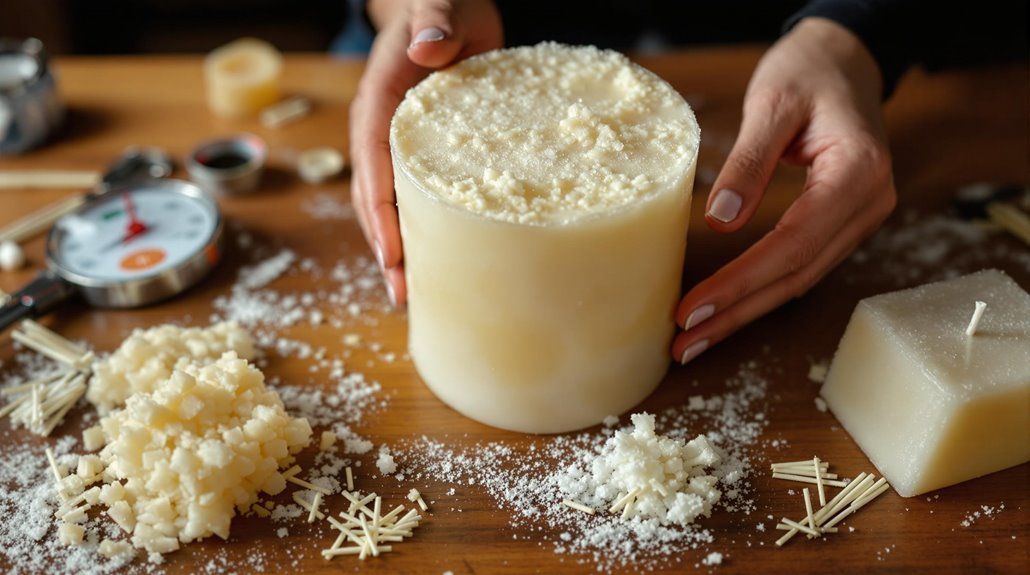
Now that you've gathered your supplies, choosing the right wax will determine your candle's quality and characteristics. You'll find three main options in candle making: paraffin, beeswax, and soy wax, each with distinct properties and benefits.
While paraffin wax remains the industry standard, you should know it releases harmful fumes during burning. If you're seeking natural alternatives, consider beeswax or soy wax. Beeswax offers a hard texture and subtle sweet scent, featuring a natural yellow color when solid. However, it doesn't carry additional scents as effectively as other options.
Soy wax stands out as a renewable and biodegradable choice that's perfect if you're following a vegan lifestyle. Its white color and clear burning properties make it ideal for crafting refined candles. You'll find that soy wax carries fragrances better than beeswax, and choosing non-GMO, US-grown soy wax provides the most environmentally friendly option available.
When selecting your wax type, consider the candle properties you're aiming for. Think about burn time, scent throw, and environmental impact. Each wax type will affect these characteristics differently, so match your choice to your specific candle-making goals.
Wick Selection and Preparation

Selecting the right wick marks a pivotal step in successful candle making, as it determines how your candle will burn and perform. Cotton wicks are your best choice for soy wax candles, providing a clean and consistent burn that'll enhance your candle's overall quality. You'll need to carefully consider the wick diameter based on your container size to prevent common issues like tunneling or drowning.
When preparing your candles, you'll find pre-tabbed wicks particularly helpful. These wicks come with adhesive discs that make centering and securing them much easier during the pouring process. The wick length and proper placement profoundly impact your candle's burn time and flame size, so don't overlook these essential details.
Before lighting your candle, you'll need to focus on proper wick trimming. Keep the wick length at 1/4 inch to maintain an ideal flame size and prevent soot buildup. This simple maintenance step guarantees your candle burns efficiently and safely. Remember that the relationship between your candle wick and wax type directly affects the burning experience, so take time to test different combinations for the best results.
Temperature Control and Melting
Temperature control stands as the cornerstone of successful candle making, particularly when working with soy wax. You'll need to maintain a precise temperature range between 125°F and 145°F to achieve the best results. When melting your soy wax, always use a double boiler setup, which provides even heat distribution and prevents direct contact with the heat source.
To start the melting process, place your heat-proof container with wax in the double boiler and monitor the temperature closely. You don't want to rush this step, as overheating can cause serious issues like rough surfaces and compromised fragrance retention. Keep a thermometer handy and watch for the wax to reach the ideal melting point.
Once your wax has completely melted, let it cool to around 135°F before pouring. This cooling period is pivotal for achieving the right viscosity and ensuring a smooth, professional-looking surface. Remember that temperature control isn't just about reaching the right heat level - it's about maintaining consistent temperatures throughout the entire process. By following these temperature guidelines, you'll avoid common problems like uneven surfaces and poor fragrance distribution.
Fragrance and Color Blending
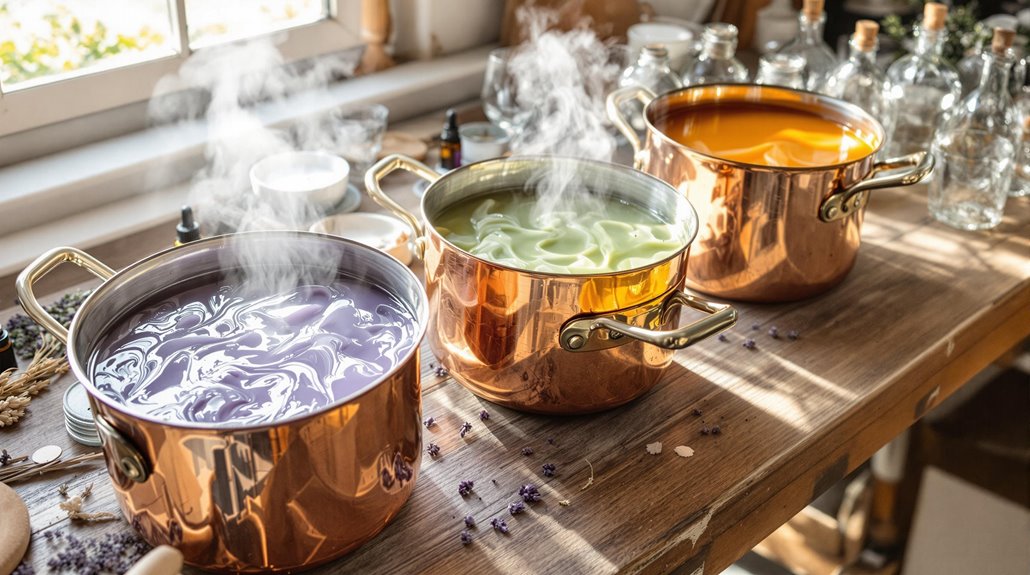
Creating unique fragrance combinations and color designs metamorphoses basic candles into personalized works of art. When working with soy wax, a renewable resource, you'll find that both fragrance oil and essential oils offer distinct benefits. While fragrance oils provide endless scent combinations and reliable scent throw, essential oils deliver a more natural, clean-burning alternative.
To achieve your desired aesthetic, you can experiment with various coloring methods. Whether you're using dye blocks or food coloring specifically formulated for soy wax, the possibilities are limitless. Try creating eye-catching ombre or gradient effects by carefully layering different shades, starting with the darkest at the bottom and progressively lightening as you pour each layer.
Don't limit yourself to just scents and colors. You can enhance your candles' visual appeal by incorporating decorative elements like dried flowers, herbs, or even biodegradable glitter. When blending fragrances, start with small batches to test how different scents interact. Remember that some essential oils may affect the wax's properties differently than fragrance oils, so it's critical to maintain proper ratios for ideal performance.
Pouring Techniques and Tips
Commanding proper pouring techniques can make or break your homemade candle's appearance and performance. When working with soy wax, you'll need to pay careful attention to temperature control and pouring methods to achieve professional results.
Heat the wax to the proper temperature range of 125°F to 145°F, but don't pour immediately. Instead, let it cool to 135°F - this essential step prevents common issues like air bubbles and surface cracks. While you're waiting, confirm your wick is perfectly centered in the container.
Carefully pour the wax using a slow, steady motion. You'll want to avoid rushing this step, as pouring too quickly can create unsightly lumps and surface irregularities. When pouring the soy wax, maintain a consistent speed and distance from the container to ensure even distribution.
Remember that if you pour the melted wax at too high a temperature, you risk compromising both the candle's appearance and the integrity of your fragrance oils. Take your time with the Wick and Pour process - it's better to work methodically than to rush and end up with an imperfect candle. These techniques will help you create smooth, professional-looking candles every time.
Troubleshooting Common Problems
Even with proper pouring techniques, you'll likely encounter some challenges in your candle-making venture. Understanding common issues and their solutions will help you create professional-looking candles consistently.
When you notice sink holes in your candles, they're typically caused by uneven wax shrinkage. You can prevent this by allowing your candles to cool slowly in a draft-free area. If you're dealing with tunneling, where the wax burns down the middle leaving unused wax along the sides, you'll need to adjust your wick size to match your container's diameter. Frosting, which creates a white, hazy appearance on your candles, occurs when the wax cools too quickly. To fix this, try reheating the candle and cooling it gradually.
Watch out for wet spots, which appear as small liquid pools on the surface. These indicate you've overheated the wax during production. Let the candle cool completely before lighting it to resolve this issue. To prevent cracking, maintain the proper pouring temperature and avoid rapid temperature changes during the cooling process. By addressing these common problems promptly, you'll improve your candle-making skills and create better products.