How to Make Sandalwood Soap at Home: A Simple Guide

To make sandalwood soap at home, you'll need high-quality sandalwood essential oil, pure sandalwood powder, and a blend of olive, coconut, and palm oils. Start by carefully mixing your lye solution in a well-ventilated area while wearing protective gear. Combine your oils at the correct temperature (100-110°F), then add the sandalwood fragrance and powder. Once the mixture reaches "trace," pour it into lined molds and let it set for 24-48 hours. Remove from molds and cure for 4-6 weeks. Your luxurious, aromatic bars will have powerful skincare benefits - but success lies in understanding the complete process and safety measures.
Essential Ingredients and Equipment
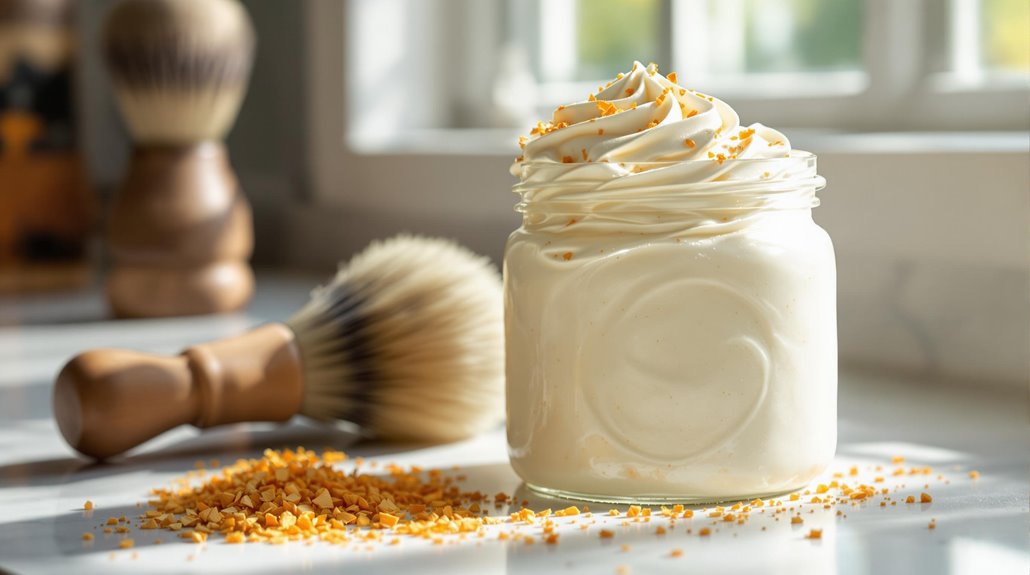
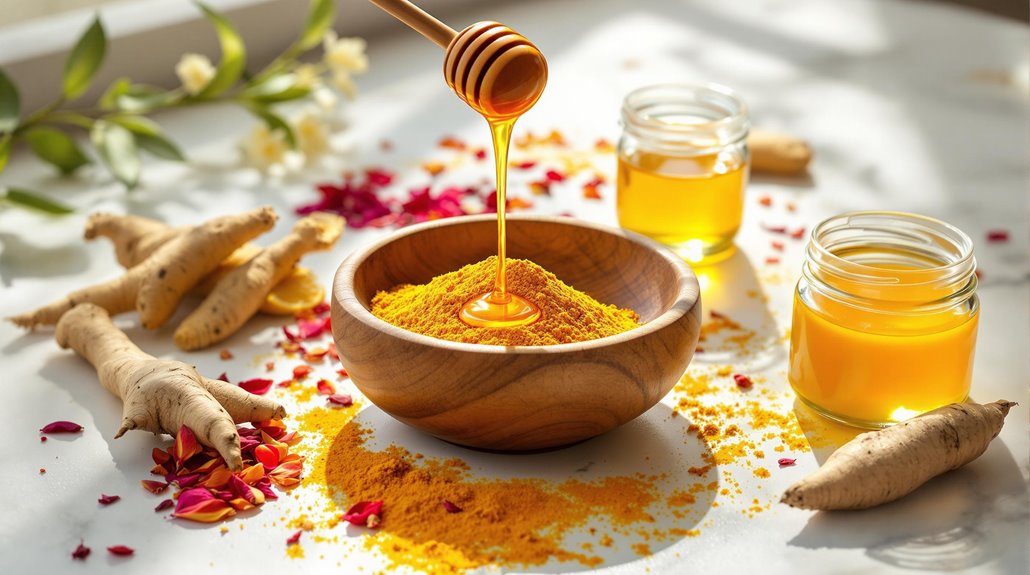
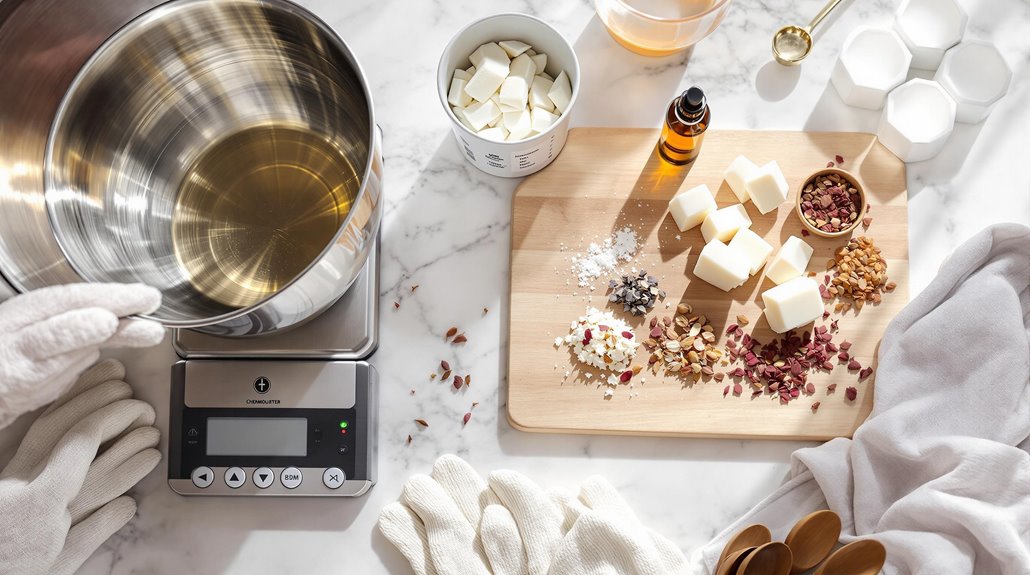
Before beginning your sandalwood soap-making expedition, you'll need to gather both essential ingredients and proper equipment. Your ingredient list should include high-quality sandalwood essential oil, pure sandalwood powder, olive oil, coconut oil, and sustainable palm oil. Each oil contributes unique properties to your final product, guaranteeing a balanced and effective soap.
For precise measurements, you'll need a digital scale to weigh your ingredients accurately. Don't try to estimate quantities, as exact measurements are indispensable for successful soap making. You'll also require a silicone soap mold to shape your creation and facilitate easy removal once it's set. A stick blender is essential for thoroughly combining your ingredients, while a reliable thermometer helps you monitor temperatures throughout the process.
Don't forget your safety equipment - you'll need protective gloves and goggles when handling lye and hot oils. Having all these items ready before you start will make your soap-making process smoother and more efficient. Remember, quality tools and ingredients are the foundation of creating professional-grade sandalwood soap at home.
Safety Precautions Before Starting
Safety stands as the cornerstone of successful soap making, especially when working with potent ingredients like lye and essential oils. When handling Sodium Hydroxide (lye), you'll need to take specific precautions to guarantee a safe soap-making experience. First, always wear protective gear, including chemical-resistant gloves, safety goggles, and a face mask to protect yourself from fumes and potential splashes.
You must work in a well-ventilated area when mixing your lye solution. When combining lye with distilled water, remember the pivotal rule: always add the lye to the water slowly, never the reverse. Keep a vinegar solution nearby as a safety measure to neutralize any accidental lye spills. Maintain your workspace free from distractions, and keep children and pets away from the area while you're making soap.
Before starting, organize your materials and familiarize yourself with proper disposal methods for any leftover lye or hazardous materials. Check your local regulations regarding chemical disposal, and never pour lye solution down regular drains without proper neutralization. These safety measures aren't optional - they're indispensable steps that protect you and maintain a successful soap-making process.
Preparing Your Workspace
Successful sandalwood soap making begins with a pristine, organized workspace. Before you Make Soap, clear your countertops of unnecessary items and wipe all surfaces with rubbing alcohol to guarantee a clean environment. Choose a well-ventilated area that's away from food preparation spaces and has good airflow to handle any fumes from the soap-making process.
Set up your workspace by arranging all your equipment within easy reach. Place your digital scale on a flat, stable surface and certify your measuring cup, stick blender, and other tools are clean and ready for use. Line your soap mold with parchment paper or a silicone liner before you begin mixing ingredients.
Keep your materials at room temperature and organize them in the order you'll use them. Position your safety equipment, including gloves and goggles, where you can easily access them. Have your precisely measured ingredients - sodium hydroxide, distilled water, essential oils, and colorants - arranged separately to prevent confusion during the mixing process. Double-check that your workspace has adequate ventilation and that all equipment is in proper working order before proceeding with the soap-making process.
Handling Lye Solution
With your workspace properly organized, it's time to focus on the most demanding aspect of soap making - handling the lye solution. When working with lye, you'll need to follow strict safety protocols to guarantee your soap mixture turns out perfectly and safely.
Start by putting on your protective gear - rubber gloves, safety goggles, and an apron. Make sure you're working in a well-ventilated area to avoid inhaling harmful fumes. To create your lye solution, carefully pour the lye crystals into room temperature water - never the other way around. The solution will heat up immediately and release strong fumes, so step back and let it react.
While you wait for your soap mixture to be ready, allow the lye solution to cool completely to room temperature. This cooling period is vital before combining it with your oils to make soap. If you have any leftover lye solution, don't pour it down the drain. Instead, store it in a clearly labeled container for future use or dispose of it properly according to your local regulations. Remember, precise measurements and careful handling will guarantee your sandalwood soap turns out perfectly.
Mixing Oils and Fragrances
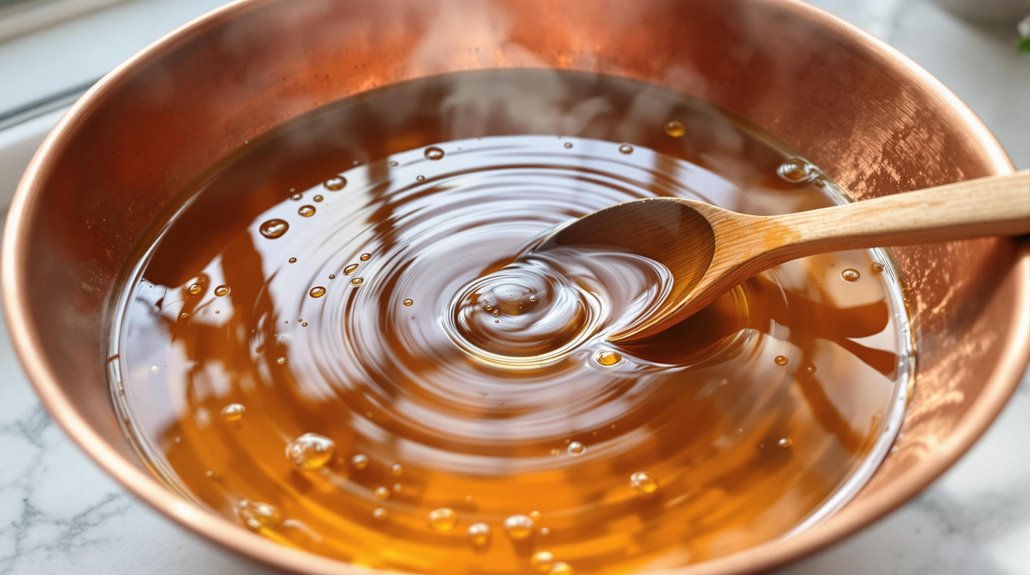
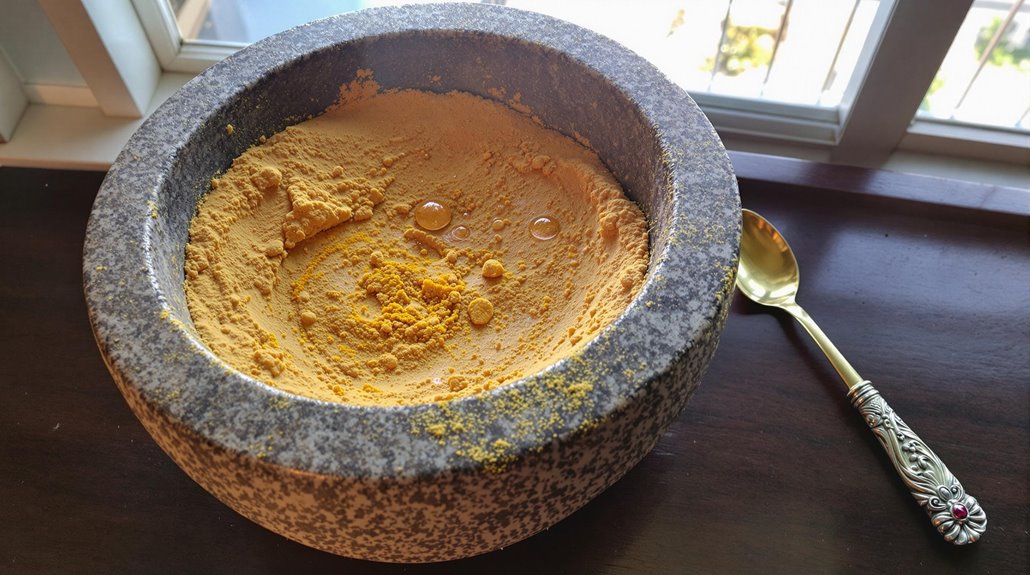
Creating the perfect oil blend marks the heart of your sandalwood soap recipe. You'll need to carefully combine coconut oil, palm oil, and olive oil in specific ratios to create your soap base. This combination ensures your soap will have the right balance of cleansing, hardness, and moisturizing properties.
Once you've mixed your base oils, it's time to add the aromatic element. Measure exactly 7 teaspoons of sandalwood fragrance oil or essential oil and incorporate it into your oil mixture. Using an immersion blender, thoroughly mix everything until it's fully combined. This step is pivotal for certifying the scent is evenly distributed throughout your soap.
Key steps for successful oil mixing:
- Monitor the temperature of your oil blend, allowing it to cool to 100-110°F before combining with lye
- Use your immersion blender in short bursts to prevent air bubbles
- Watch for "trace" - when the mixture thickens enough to hold its shape
The proper blending of your oils and fragrance creates the foundation for a luxurious bar of sandalwood soap. Once you've reached trace, you're ready to move on to the molding phase of your soap-making expedition.
Creating the Ombré Effect
Now that you've achieved the perfect trace, it's time to bring artistic flair to your sandalwood soap through the ombré effect. To create this stunning gradient, you'll need to divide your soap batter into separate containers and gradually add varying amounts of mica powder to each portion, keeping one portion uncolored.
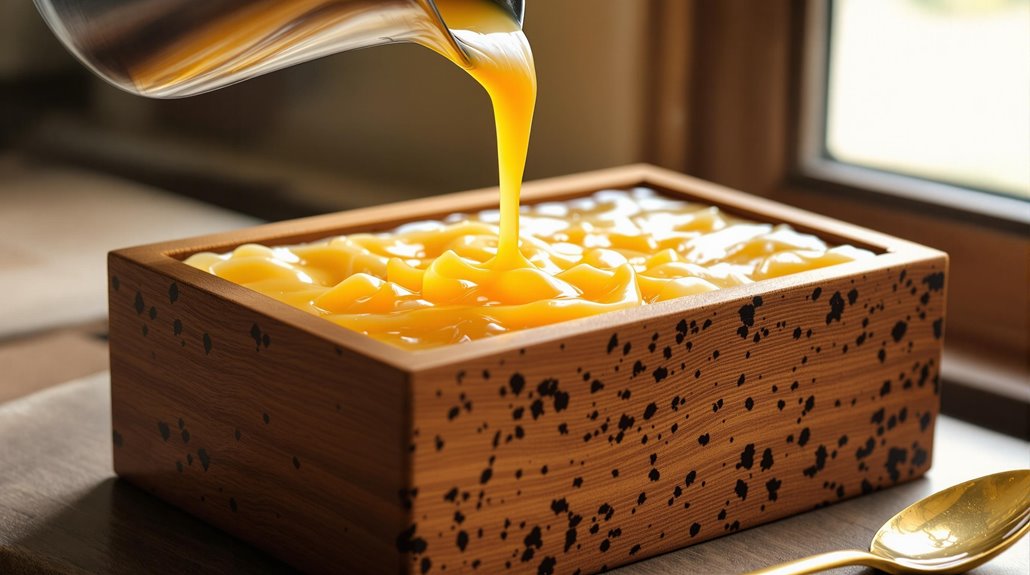
Start by pouring your base layer, which contains the most colorant, into your mold using the wall pour technique. This careful pouring method helps maintain distinct layers while incorporating your sandalwood fragrance oil throughout. Next, add each subsequent layer with decreasing amounts of colorant, tapping the mold gently between pours to release any trapped air bubbles.
As you work with each layer, guarantee your soap batter maintains a consistent trace. The ombré effect works best when you pour deliberately and allow each layer to partially set. Once you've added all layers, don't overwork the top - a simple, smooth finish will showcase your gradient best. After pouring, insulate your mold and let the soap saponify for 24 hours. Your beautiful sandalwood soap will need 4-6 weeks to cure completely, preserving its refined ombré design.
Pouring and Molding Techniques
Proper pouring and molding techniques form the foundation of professional-looking sandalwood soap. When working with the melt and pour method, you'll need to carefully pour your melted soap mixture at the right temperature - typically around 120-130°F. Start by making certain your molds are clean, dry, and positioned on a flat surface.
To achieve the best results, follow these essential pouring steps:
- Pour the white base layer first, spritz with alcohol to remove air bubbles, and let it set until it develops a thin skin
- Spray the surface with alcohol again before adding your colored layers to guarantee proper adhesion between sections
- Carefully pour each subsequent layer at an angle using a spatula to direct the flow and prevent breakthrough
When you're working with multiple layers, it's indispensable to maintain consistent temperatures throughout the process. If your melted soap is too hot, it'll melt through previous layers; too cool, and it won't bond properly. Always tap your molds gently on the counter several times after pouring to release any trapped air bubbles before the soap begins to set.
Curing Your Sandalwood Soap
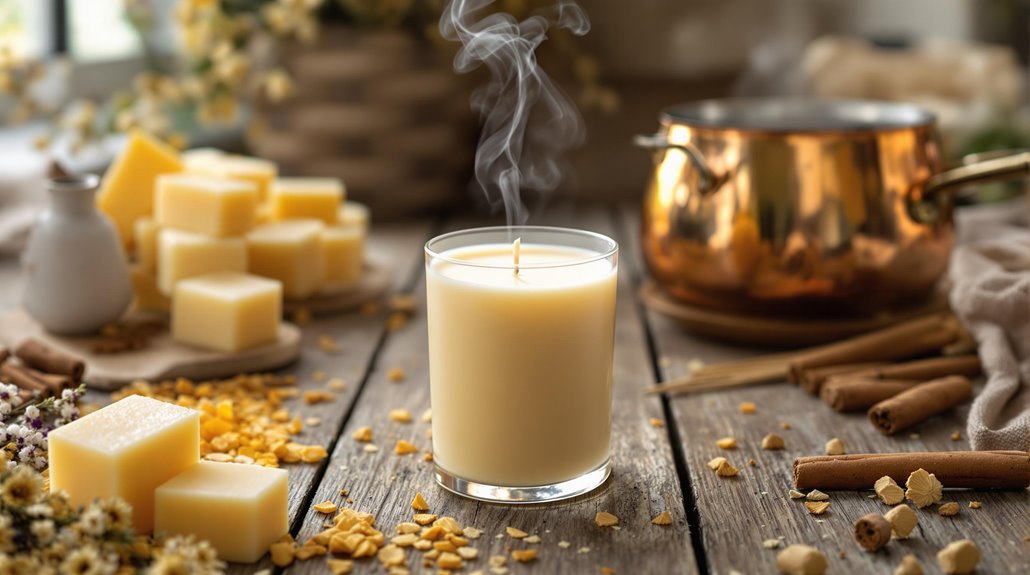
Once you've successfully poured and molded your sandalwood soap, the important curing process begins. Whether you've used a melt and pour soap base or followed a cold process soap recipe, proper curing is essential for achieving the best results in your Soap at Home project.
Leave your freshly made soap undisturbed in its mold for 24-48 hours to allow complete saponification. During this initial period, it's paramount not to handle or disturb the bars, as this could compromise their final texture and appearance. After removing the soap from the mold, place the bars in a cool, dry location away from direct sunlight for 4-6 weeks.
This extended curing period allows your cold process soap to fully harden and develop its signature sandalwood fragrance. While waiting can be challenging, this step is indispensable for creating high-quality soap bars. Once curing is complete, store your soap in an airtight container to preserve its scent and prevent it from drying out. Don't forget to clean all your soap-making equipment thoroughly and properly dispose of any remaining lye or materials to prepare for your next batch.
Storing and Packaging Tips
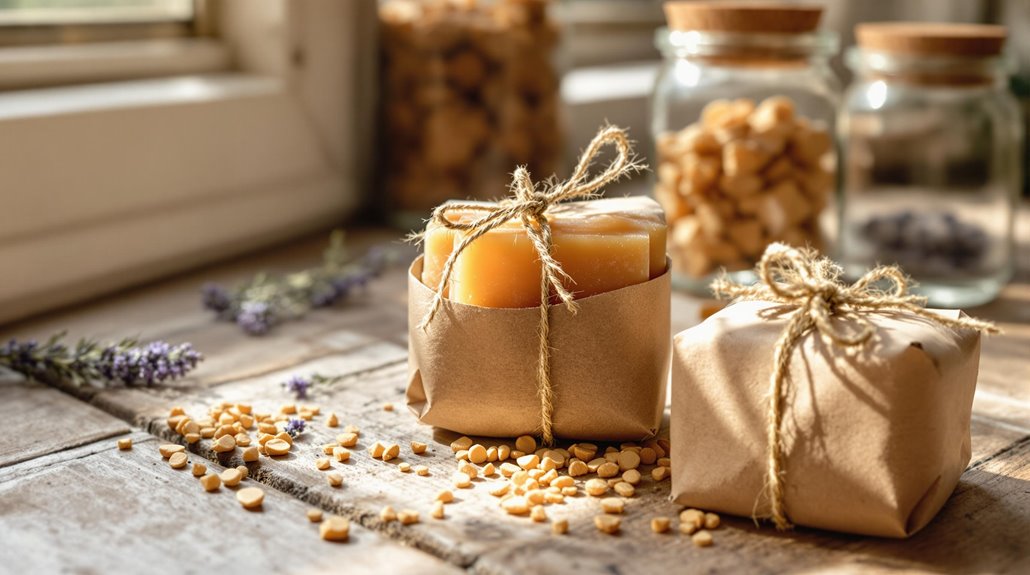
Successful storage and packaging make all the difference in preserving your handcrafted sandalwood soap. Whether you're making white soap bars or shea butter-enriched varieties, proper storage secures your homemade soap maintains its quality and signature fragrance. You'll want to keep your creations in a cool, dry space away from direct sunlight, similar to how Bramble Berry recommends storing their professional soaps.
To maintain your soap's integrity, consider these essential storage methods:
- Use airtight containers or resealable bags to prevent your soap from drying out or absorbing unwanted moisture
- Wrap individual bars in wax paper or eco-friendly materials that won't affect the sandalwood scent
- Store wrapped soaps in a dark cabinet or storage box to protect them from light exposure
Don't forget to label each batch with important details like production date, ingredients, and batch numbers. This practice helps you track your soap's shelf life and maintain quality control. If you're planning to give your soaps as gifts or sell them, consider using shrink wrap or professional packaging that protects while showcasing your beautiful homemade creations.
Benefits of Sandalwood Soap
Now that you've honed the art of storing your handmade soap, you'll be delighted to know the exceptional benefits that sandalwood brings to your skincare routine. When you're making soap with sandalwood, whether through melt and pour soap techniques or other soap recipes, you're creating a powerful skincare solution that offers multiple advantages.
Your soap making journey with sandalwood, especially when using milk melt and pour bases, delivers remarkable results. The natural anti-inflammatory and antiseptic properties help combat skin irritation and prevent infections, making it an excellent choice for sensitive skin. You'll notice that sandalwood's unique ability to regulate oil production makes it particularly effective for acne-prone skin, while its antioxidant properties protect your skin from environmental damage.
What sets sandalwood soap recipes apart is their calming aromatherapy benefits. As you use your handmade creation, you'll experience reduced stress levels thanks to its grounding scent. The soap's hydrating properties guarantee your skin stays moisturized throughout the day, leaving it noticeably softer and more supple with regular use. This makes sandalwood a priceless ingredient in your soap making arsenal.
Related posts