How to Make Gel Candles at Home: A Step-by-Step Guide
Craft your own unique gel candles at home by gathering the necessary supplies like gel wax, candle containers, and wicks. Heat the wax to the right temperature, then carefully pour it into your prepared container. Make sure to center and secure the wick before the wax sets. Once cooled, add any desired decorative touches. Let the candle cure for a few weeks to fully develop its fragrance and appearance. With just a few simple steps, you can create beautiful, personalized gel candles that will enhance the ambiance of any space. Want to explore the process further?
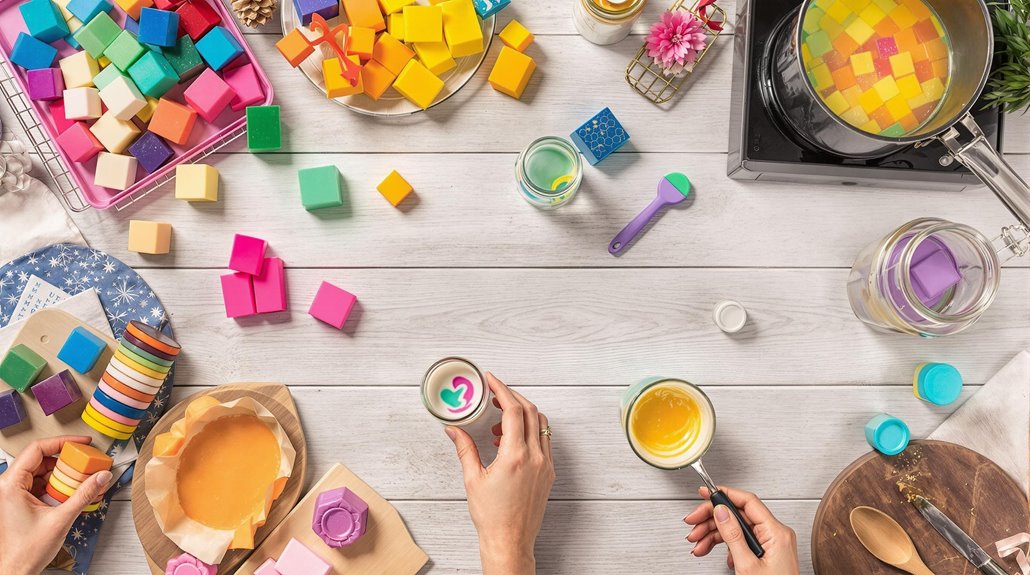
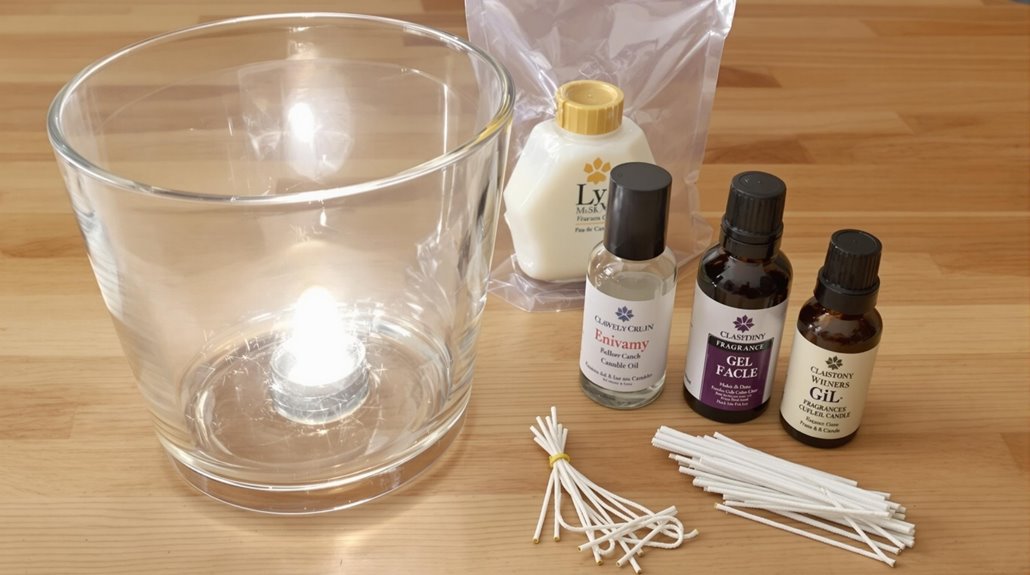
Gather the Necessary Supplies
To create your own gel candles at home, you'll need to gather a few key supplies. The most important one is the right type of wax to use - gel wax, which is specially formulated for this purpose. You'll also need gel candle containers, either glass or plastic, to hold the wax. Beyond that, you'll want to have candle wicks, a double boiler or makeshift one, and a thermometer to monitor the wax temperature.
Other proper gel candle supplies include candle dye or fragrance oil if you want to customize the look and scent. You may also find it helpful to have a pouring pitcher to make the wax transfer easier. Finally, grab some protective gear like gloves and eye protection, as working with hot wax can be messy. With all these items on hand, you'll be ready to start creating your unique gel candles from scratch. Just be sure to follow safety protocols throughout the process. Clean burning wax is essential for creating a healthier indoor environment when making gel candles.
Prepare the Gel Wax
First, carefully measure out the required amount of gel wax according to the container size you're using. It's pivotal to guarantee the proper wax temperature during this step, as gel wax has specific attributes that differ from traditional paraffin wax. Heat the gel wax in a double boiler or microwave, stirring frequently, until it reaches the recommended temperature range, typically between 185°F and 200°F. This temperature range helps maintain the gel wax's clarity and transparency, which are important characteristics for creating visually appealing candles. Unlike paraffin wax candles, gel wax offers superior scent throw while burning cleanly and efficiently.
Once the gel wax has reached the appropriate temperature, remove it from the heat source. Be mindful of the wax's viscosity, as it should have a smooth, pourable consistency. If the wax appears too thick or too thin, make slight adjustments to the temperature. Properly preparing the gel wax is essential for achieving the desired results and securing a successful candle-making experience.
Select and Prepare the Container
Selecting the right container is a vital step in crafting enthralling gel candles. Avoid tight containers, as the gel wax will expand as it melts, and you don't want your creation to burst. Instead, opt for containers that provide ample headspace, allowing the wax to move freely.
When it comes to materials, select heat-resistant options like glass, ceramic, or metal. These will withstand the high temperatures required for melting and pouring the gel wax. Steer clear of plastic containers, as they may not handle the heat as well and could potentially leach harmful chemicals into your candle.
Before pouring the wax, clean the container thoroughly to remove any dust or residue. You can even give it a quick wipe with rubbing alcohol to guarantee a pristine surface. Additionally, consider adding a wick holder or centering device to keep your wick in place during the candle-making process. With the right container and preparation, you're well on your way to creating stunning gel candles. Similar to using silicone spray protection in traditional candle making, treating your container's surface helps prevent moisture buildup and ensures a clean release.
Wick Placement and Securing
How do you guarantee your candle wick is properly placed and secured? First, determine the ideal wick height for your gel candle. A wick that's too short won't provide an even flame, while one that's too tall could create sooting. Aim for a wick that stands 1/4 to 1/2 inch above the surface of the gel.
Next, make certain the wick has enough stiffness to remain centered and upright as the candle burns. Many gel candle kits include metal wick tabs or clips to help anchor the wick. Secure the wick by pressing the tab or clip firmly into the bottom of the container. You can also use a wick holder, which suspends the wick from the container's rim. For best results, center the wick and secure it before pouring the gel. This prevents the wick from shifting as the gel sets. With the wick correctly positioned and secured, you're ready to pour the gel and enjoy your homemade candle. Always place your finished candle on a heat-resistant surface to prevent any damage to furniture or countertops while burning.
Pouring the Gel Wax
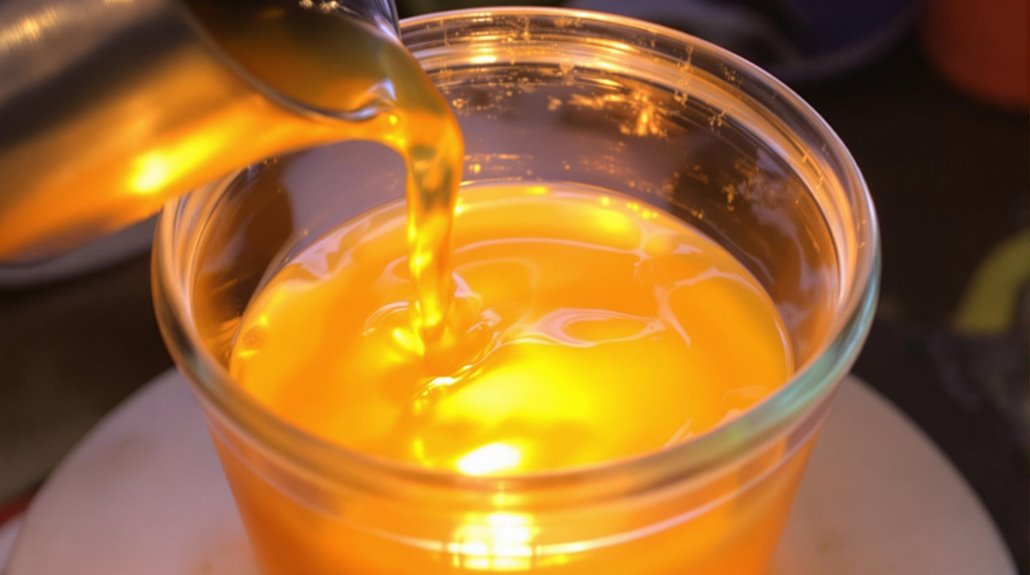
With the wick properly positioned and secured, you can now pour the gel wax into the container. Be sure to maintain a consistent wax temperature to guarantee a smooth, bubble-free pour. As you slowly pour the wax, aim for the center of the container, letting it flow outward and fill the sides. Once the container is filled to your desired level, you can add your chosen candle fragrance. Stir the fragrance into the wax gently to avoid introducing air bubbles.
It's pivotal to monitor the wax temperature throughout this process, adjusting as needed to maintain the ideal viscosity for pouring. This attention to wax temperature control will result in a beautifully crafted gel candle. After pouring, allow the wax to cool completely before trimming the wick and enjoying your homemade creation. Consider using candle hurricanes around your finished gel candles to protect them from drafts while adding an elegant touch to your decor.
Finishing Touches and Curing
Once the gel wax has fully cooled, you can begin the finishing touches. This is where you can customize the appearance of your candle to your liking.
- Add decorative elements: You might consider embedding dried flowers, glitter, or other small decorative items into the surface of the candle. This can add a unique and personalized touch.
- Trim the wick: Use scissors to trim the wick to the desired length, typically around 1/4 inch. This will help guarantee a clean and even burn.
- Label and package: If you plan to gift or sell your candles, consider adding a label with the candle's name, scent, or any other information you'd like to include. You can also package the candle in a nice box or container.
Finally, it's important to allow the candle to cure for at least 2-3 weeks. This curing time will help optimize the candle's performance and confirm a longer burn time.
For a pleasant finishing touch, you can enhance your candle with pure essential oils mixed in a ratio of 40 drops to 50 mL of water and lightly mist the exterior of the container.