How to Create Multi-Layered Candles With Different Colors and Scents
To create multi-layered candles with different colors and scents, start by melting the wax to the right temperature and selecting your desired colors and fragrances. Prepare your container, confirm your work surface is clean and level, then pour the first layer and let it solidify completely before adding the next. Repeat this layering process, adjusting the thickness and cooling time as needed. Incorporate natural waxes like soy or beeswax for subtle, soothing vanilla aromas, being mindful of scent overlap between layers.
Finish with decorative elements and a custom label, then store your candles properly to preserve their lively visuals and fragrances. Want to delve deeper into the process?
Gathering the Necessary Supplies
To create multi-layered candles, you'll need a few key supplies. Start by purchasing quality wax, such as soy or paraffin, which will provide the base for your candles. Choose appropriate candle molds in the shapes and sizes you prefer, ensuring they're large enough to accommodate multiple layers. You'll also need dye or coloring to create the different layers, as well as essential oils or fragrance if you want to add scent. Pick up some wicks that are the right size for your molds, and consider using a wick centering device to keep them in place during the pouring process.
Don't forget to have on hand any tools you might need, like a double boiler or pouring pitcher, to melt the wax and pour it into the molds. With all these supplies gathered, you'll be ready to start creating your customized multi-layered candles. For a cleaner burning and more eco-friendly option, consider using soy wax which burns slowly and produces minimal soot.
Preparing the Wax
With your supplies ready, begin preparing the wax. First, determine the required melting temperature for the specific wax you're using. Adjust the temperature accordingly, taking care not to overheat the wax, which can compromise its quality. As the wax melts, consider the desired color and fragrance for your layers. Prepare each color and scent separately, ensuring they're thoroughly mixed and free of any impurities or air bubbles.
Next, investigate different wax preparation methods to achieve the layered effect. You might consider the "hot pour" technique, where you carefully pour each colored and scented layer one at a time. Alternatively, the "cold pour" method involves allowing each layer to partially harden before adding the next. Experiment with these techniques to find the approach that works best for your preferred candle design. Consider using soy or beeswax for a more eco-friendly and clean-burning finished product.
Selecting Color and Fragrance Combinations
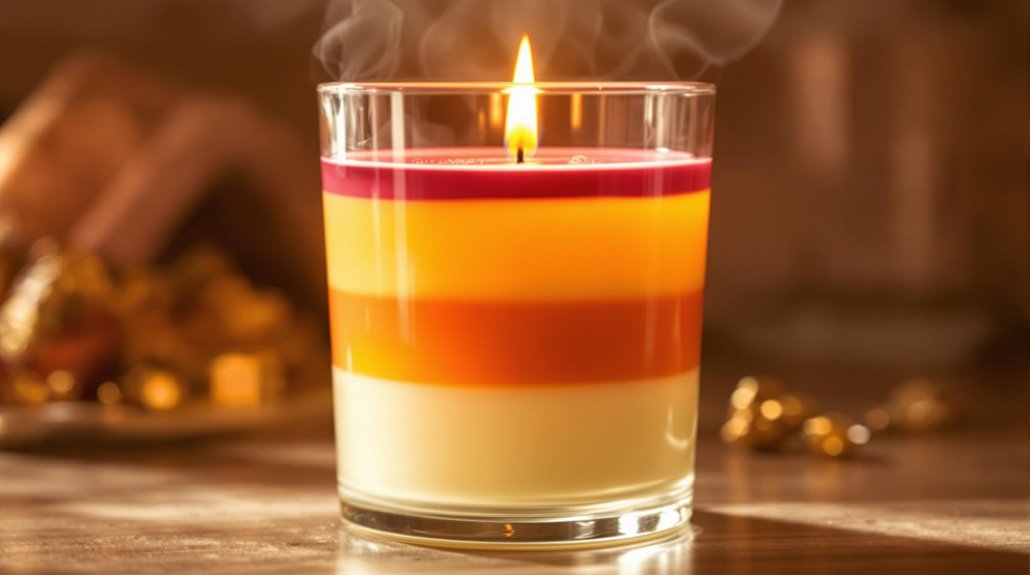
Choosing the right color and fragrance combinations is crucial in creating visually stunning and aromatic multi-layered candles. When blending complementary hues, consider contrasting or analogous colors that work together harmoniously. For instance, pair a deep burgundy with a vibrant orange or blend a soft blue with a gentle green. Experimenting with various shades can produce captivating effects.
Likewise, harmonizing fragrance notes is key. Opt for scents that complement each other, like citrusy lemon and floral lavender or warm vanilla and spicy cinnamon. Avoid clashing notes that can create an unpleasant aroma. You can also layer different fragrance intensities, using a stronger scent for the bottom layer and a more subtle one for the top.
Carefully select your color and fragrance combinations to craft multi-layered candles that not only look beautiful but also fill the air with an enthralling, balanced scent. For vanilla-based layers, consider adding sandalwood essence to create a sophisticated and warm aromatic experience.
Arranging the Wick
Now that you've selected the perfect color and scent pairings for your multi-layered candles, it's time to focus on properly arranging the wick. Proper wick positioning is vital for ensuring an even burn and a clean, controlled flame.
Start by centering the wick in the container, ensuring it's not too close to the edges. This will help prevent the wick from drowning in the wax or burning unevenly. Next, use wick stabilizers, such as wick centering devices or wick tabs, to keep the wick upright and in place as the candle burns. This prevents the wick from leaning or falling over, which can lead to uneven wax melting and an undesirable appearance. Remember to trim the wick to one-quarter inch before lighting to maintain proper flame control.
Pouring the First Layer
Pouring the first layer is the initial step in creating your multi-layered candle expert creation. To achieve an even pour, ensure the wax is at the optimal temperature, typically between 185-200°F. This temperature range helps the wax flow smoothly and minimizes the risk of air bubbles or uneven thickness.
As you pour the first layer, move the pitcher or container in a circular motion, maintaining a consistent speed and height above the container. This technique helps distribute the wax evenly, creating a uniform base for the subsequent layers. Be mindful of the wax level, stopping just shy of the desired height to allow room for the additional layers.
Managing the wax temperature is paramount throughout the pouring process. If the wax cools too quickly, it may become thick and difficult to pour, leading to an uneven finish. Conversely, if the wax is too hot, it can cause the wick to shift or the candle to develop cracks. Regularly check the temperature and adjust as needed to maintain the perfect pouring consistency. For breakable containers like glass or ceramic, warming the mold to 110 degrees Fahrenheit prevents cracking during the pouring process.
Allowing the Layer to Solidify
After pouring the first layer, you'll need to allow it to solidify before adding the next. This step is indispensable, as allowing adequate cooling time ensures consistent layer thickness and prevents the layers from blending together. Depending on the wax you're using, it may take anywhere from 15 minutes to an hour for the first layer to fully harden.
To check if the layer is ready, gently touch the surface. It should feel firm and slightly waxy to the touch. If it's still soft or tacky, give it a bit more time. Once the layer is solidified, you can move on to pouring the next color or scent. Resist the urge to hurry this process, as rushing can lead to uneven layers or even cause the candle to crack. Take your time and let the wax cool completely before proceeding. This attention to detail will result in a beautifully layered candle that's sure to impress. Regular wick trimming is essential for maintaining the quality and appearance of your layered candle once it's complete.
Adding the Next Color and Scent Layer
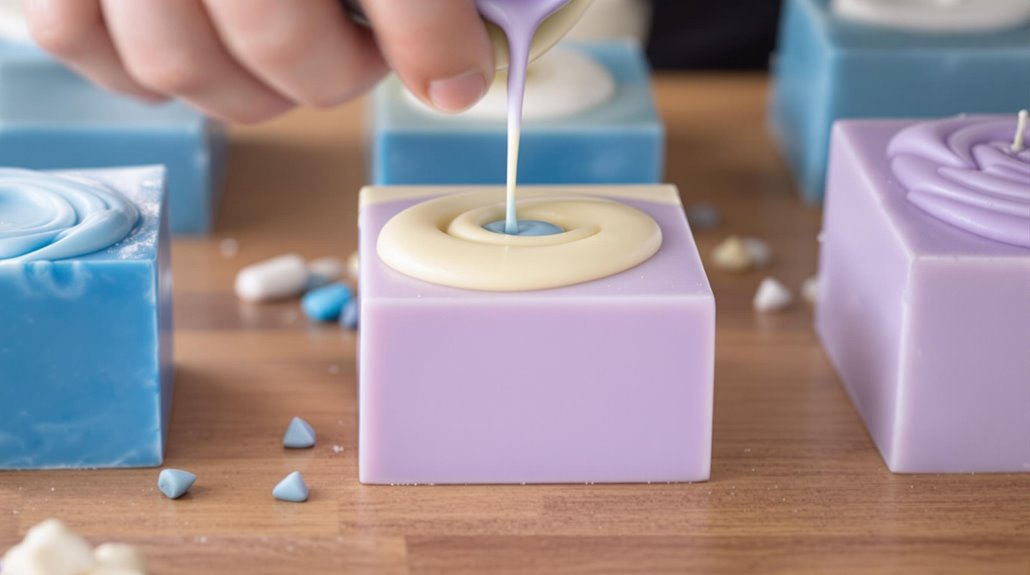
Once the first layer has solidified, you can begin adding the next color and scent. Start by reheating the wax to the appropriate temperature, using your wax temperature control. This will guarantee the new layer bonds seamlessly with the previous one.
Carefully pour the wax for the second layer, being mindful of the layering techniques to prevent any unwanted mixing. Gently pour the wax along the inside edge of the container, allowing it to flow down the sides. This will help create a distinct, defined line between the layers.
Next, add your desired color and fragrance to the molten wax, stirring thoroughly to incorporate. Pay close attention to the wax temperature, as it's pivotal to maintain the proper consistency for successful layering. Allow this second layer to solidify completely before moving on to the next.
Repeat this process, alternating colors and scents, to build up your multi-layered candle. With patience and attention to detail, you'll achieve a visually stunning and aromatic result.
Using sandalwood and vanilla together creates a perfectly balanced and relaxing aroma for one of your layers.
Repeating the Layering Process
With the second layer now solidified, you can repeat the layering process to build up your multi-layered candle. Adjust the thickness of each layer to achieve your desired look and guarantee proper adhesion between the layers. Optimize the cooling time between pours to prevent the wax from becoming too firm, making it challenging to add the next layer smoothly.
- Carefully pour the third layer of wax, ensuring it's the same temperature as the previous layer to create a cohesive bond.
- If adding a different color or scent, be mindful of any potential blending or overlap between the layers.
- Monitor the cooling process closely, and consider adjusting the pour temperature or cooling time as needed to maintain the desired layered effect.
- Repeat this process, alternating colors and scents, until you've reached the desired number of layers for your multi-layered candle.
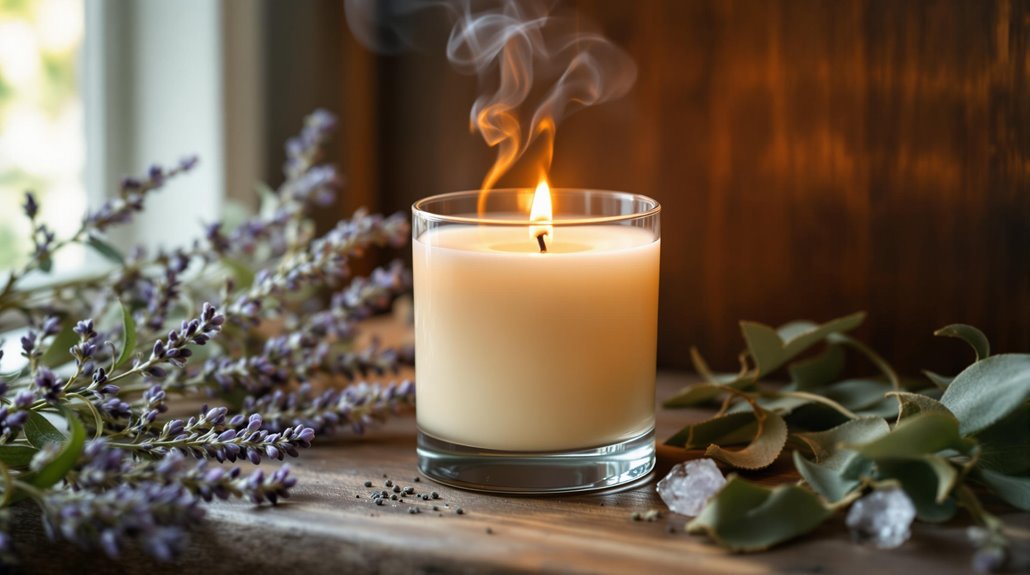
When incorporating vanilla scents, natural waxes like soy and beeswax will provide a more subtle and soothing aroma in your layered creation.
Finishing Touches and Customization
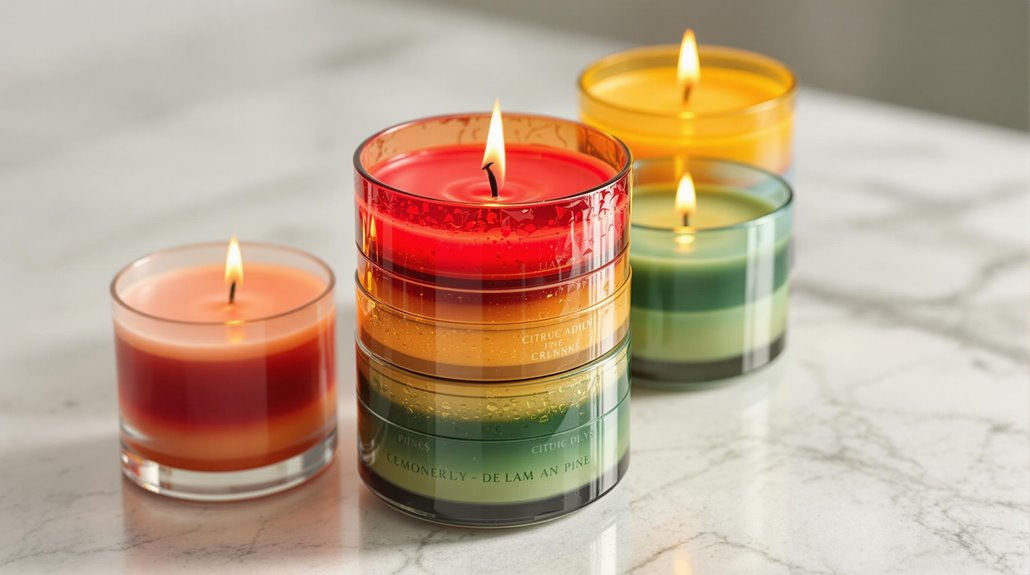
Now that you've built the layers of your multi-layered candle, it's time to focus on the finishing touches and customization. One way to create a unique display is by using a clear glass container or jar. This allows the different colored wax layers to shine through, creating a visually stunning effect. You could also consider adding a decorative element, such as a ribbon or a dried flower, around the container's rim. Natural fragrance compounds are safer alternatives to synthetic scents that may trigger respiratory issues or allergic reactions. Personalizing the candle with a custom label is another great way to add a personal touch. You can design a label that reflects your style or the occasion you're creating the candle for. Include relevant information like the candle's name, scents, and any special notes. Experiment with different fonts, colors, and designs to make your label truly unique.
Caring for Your Multi-Layered Candles
Properly caring for your multi-layered candles is crucial to ensuring they continue to provide a visually stunning and long-lasting display. Following a simple maintenance routine will keep your candles looking their best for years to come.
- Store your candles in a cool, dry place away from direct sunlight or heat sources. This will prevent the wax from melting and the colors from fading.
- Trim the wicks to 1/4 inch before each use to prevent smoking and uneven burning.
- Periodically clean the surface of the candle to remove any dust or debris that may have accumulated.
- If the candle's surface becomes uneven, use a candle trimmer or knife to carefully shave down the high spots and create a smooth, even surface.
Maintaining a regular care schedule will help your multi-layered candles retain their vibrant colors and pleasing scents, allowing you to enjoy their beauty for many occasions to come.
Consider using pure essential oils when adding scents to your candles to ensure the highest quality fragrance without the risk of staining.