Can You Make Incense From Sandalwood? a How-To Guide
Yes, you can make incense from sandalwood, and it's one of the most prized woods for this purpose. You'll need three essential powders: sandalwood, charcoal, and makko (which acts as a natural binder). Mix these with water or hydrosol to create a paste-like consistency, using a ratio of 10-15% binder to 85-90% sandalwood powder. You can shape your mixture into sticks or cones using an extruder or molds, then allow them to dry completely. Proper drying and storage are vital for maintaining the signature earthy-sweet fragrance that makes sandalwood incense so special.
The following guide will reveal the expert techniques to perfect your craft.
Understanding Sandalwood Properties
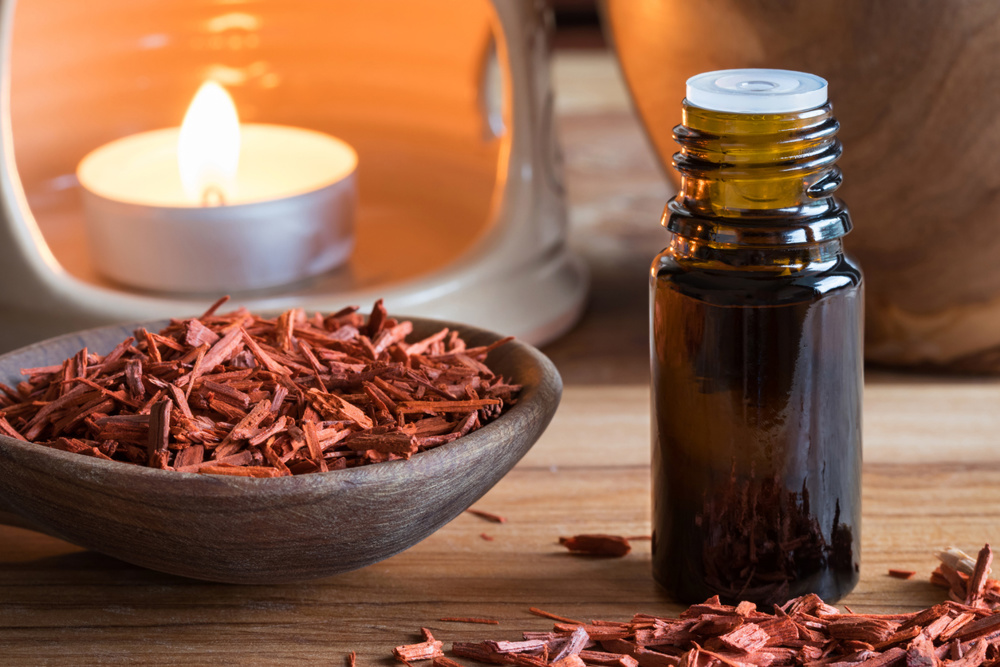
While many fragrant woods can be used for incense making, sandalwood stands out as one of the most prized and versatile options. You'll find that this outstanding evergreen tree produces heartwood that's rich in essential oils, giving it a distinctive earthy-sweet fragrance that's both complex and long-lasting. When you're using sandalwood for incense, you'll appreciate how its natural properties allow it to maintain its scent even after prolonged exposure to heat.
The tree's unique characteristics make it particularly suitable for incense production. Unlike some woods that lose their fragrance quickly when burned, sandalwood's oils are exceptionally stable. You'll notice that it doesn't require much water or additional binding agents when crafting incense, as the wood's natural compounds help hold other materials together. This binding quality, combined with its enduring aroma, explains why sandalwood powder has become a foundational ingredient in many incense formulations. However, you should be aware that due to widespread overharvesting, authentic sandalwood has become increasingly scarce and expensive.
When sourcing sandalwood for your incense-making projects, it's important to verify that you're purchasing from sustainable suppliers.
Required Tools and Materials
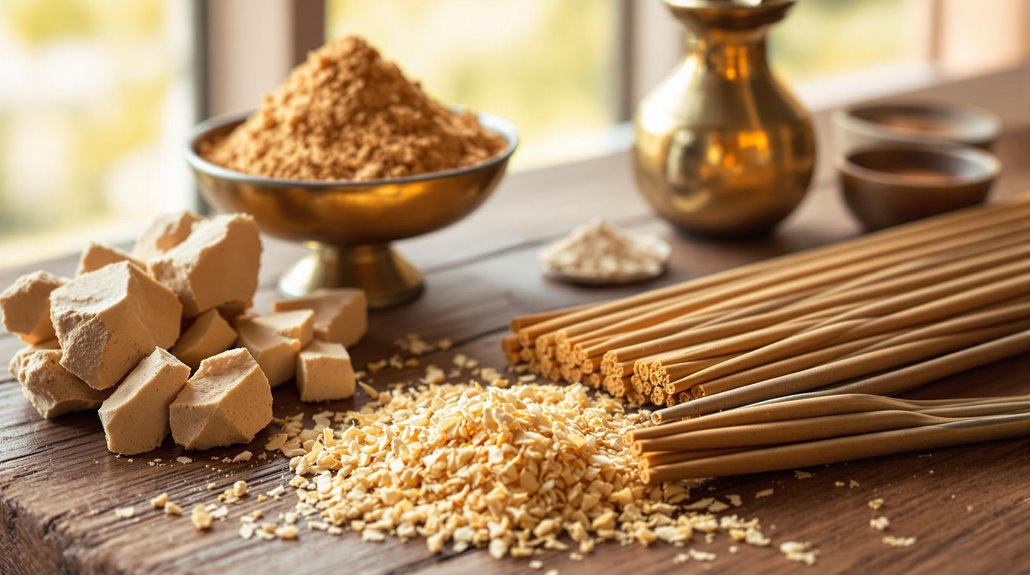
Setting up for sandalwood incense making requires a well-organized collection of essential ingredients and tools. You'll need three fundamental powders to create your base: sandalwood powder, charcoal powder, and makko powder. Each component serves a specific purpose in your incense making endeavor, with charcoal ensuring steady burning and makko acting as the natural binding agent.
To transform these dry ingredients into workable incense dough, you'll need either water or a hydrosol for moisture. Essential oils are also vital if you're looking to enhance or customize the scent profile of your incense. For shaping your final product, you'll want to have either an extruder or molds on hand, depending on whether you're planning to make sticks or cones.
Other essential tools for your incense making process include:
- A mixing bowl for combining ingredients
- Measuring spoons or scales for precise proportions
- A clean, flat surface for working the dough
- Drying racks or boards
- A storage container for the finished product
- A dry, well-ventilated space for the 24-48 hour drying period
Choosing the Right Binders
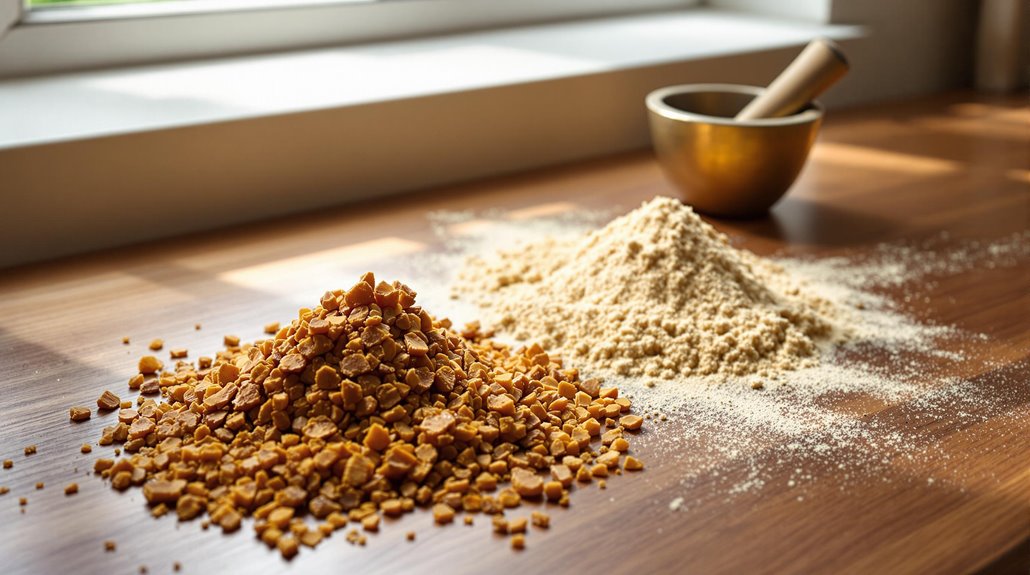
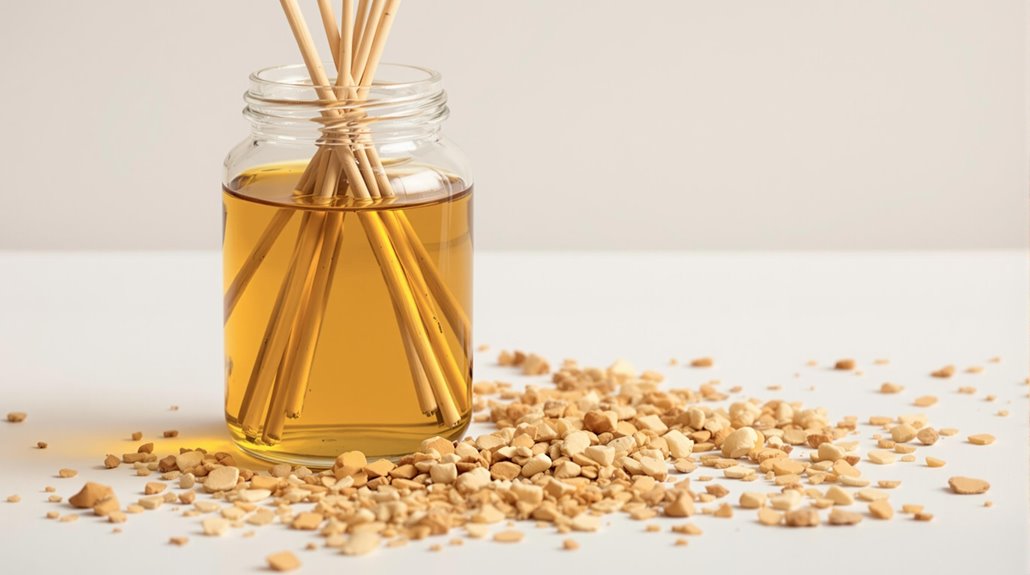
Binders serve as the essential glue that holds your sandalwood incense mixture together. When making sandalwood incense, you'll need to choose a natural binder that can effectively hold together your ingredients while allowing for proper burning. The most common and reliable options include makko powder, gum arabic, and tragacanth powder.
Makko powder, derived from tree bark, is particularly effective because it acts as both a binder and combustible material. You'll need to add water gradually to create a paste-like consistency. Gum arabic, another popular choice, works well with essential oils and creates a strong bond when mixed with water. If you're using tragacanth powder, you'll find it creates a slower-burning incense that's ideal for cone shapes.
The key is maintaining the right ratio of binder to sandalwood powder - typically 10-15% binder to 85-90% sandalwood. Start with less binder and gradually increase until you achieve the desired consistency. Your mixture should be moldable but not sticky or crumbly. If you're adding essential oils, adjust the amount of binder accordingly, as oils can affect the overall consistency.
Preparing Your Workspace
Prior to mixing your sandalwood incense, you'll need a proper workspace setup that promotes both safety and efficiency. When you make incense, your environment plays a pivotal role in the final product's quality, so it is paramount to prepare thoroughly.
Start by selecting a clean, well-ventilated area with plenty of space to work. You'll want to lay down parchment paper or a clean cloth on a large, flat surface to prevent your materials from sticking and to make cleanup easier. As you're making incense, you might find it helpful to organize your tools and ingredients in a systematic way - place your mixing bowl, spoon, and non-stick drying surface within easy reach.
Keep a heat source nearby, such as a candle or lighter, as you'll need it to test your incense throughout the drying process. Remove any potential distractions from your workspace, as focus is crucial when working with precise measurements and delicate ingredients. Good ventilation is particularly important when working with aromatic materials like sandalwood, so consider opening windows or using a fan if needed.
Mixing the Perfect Blend
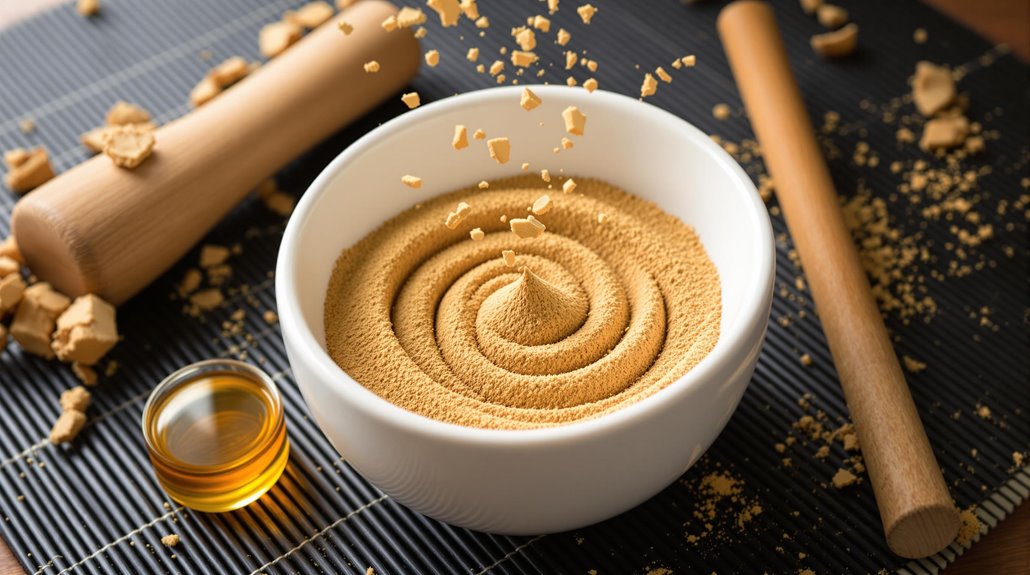
The foundation of great sandalwood incense lies in achieving the right balance of ingredients. To create your signature blend, you'll need to combine dried and powdered sandalwood with complementary materials that enhance its natural fragrance. Start by measuring your base ingredients carefully, as imperative for consistent results.
- Mix one part sandalwood powder with half a part makko powder (a natural binding agent). If you're looking for a stronger scent, you can increase the sandalwood ratio, but don't exceed a 2:1 ratio, as this may affect the burning quality.
- Add any supplementary ingredients like frankincense, myrrh, or essential oils to enhance the aromatic profile. Keep these additions to no more than 10% of your total mixture to maintain proper burning characteristics.
- Incorporate the addition of water gradually, stirring until you achieve a dough-like consistency. The mixture should be pliable but not sticky. Once you've shaped your incense, allow them to dry completely for 48-72 hours in a well-ventilated area before use.
Remember to document your measurements for future batches, as creating the perfect blend often requires experimentation and refinement.
Shaping Your Sandalwood Incense
Now that you've achieved the perfect blend, shaping your sandalwood incense mixture requires patience and attention to detail. You'll want to make certain your dough has the right consistency - not too wet and not too dry - before you get started using your preferred shaping method.
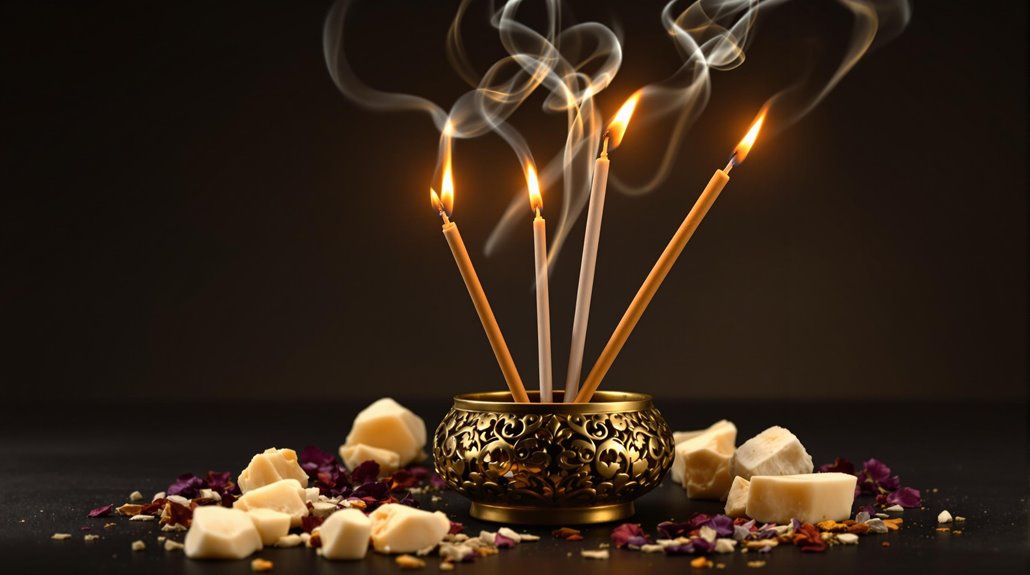
You can shape your incense in several ways. If you're using molds, press the dough firmly into cone or stick shapes, being careful to eliminate any air pockets. For hand-rolling, take small pieces of the mixture and roll them between your palms to form sticks, or carefully coil them into spirals. Ensure each piece is uniform in thickness to guarantee even burning later.
Once you've shaped your incense, place the pieces on a flat, clean surface where they won't be disturbed. They'll need 24-48 hours to dry completely, depending on your climate and the size of your pieces. During this time, the sandalwood mixture will harden and develop the proper burn characteristics. You'll know they're ready when they feel completely firm to the touch and have no remaining soft spots.
Proper Drying Techniques

Commanding proper drying methods stands as one of the most essential steps in creating high-quality sandalwood incense. For your incense cones to burn well, you'll need to focus on achieving the perfect moisture balance through careful drying techniques. Place your freshly shaped cones in a cool, dark location for 24-48 hours, ensuring they're protected from direct sunlight and heat sources.
The drying time of your sandalwood incense can vary depending on your local climate. You'll want to monitor the humidity levels, as dryer environments will speed up the process. Check your cones periodically by gently touching them to assess their consistency.
Three key indicators that your incense cones have dried properly:
- The surface feels completely dry and firm to the touch
- There's no visible moisture or darker spots on the cone
- The cone maintains its shape when lightly pressed
Remember that finding the sweet spot is pivotal - overdried cones will burn too quickly and waste your precious sandalwood, while underdried ones might struggle to ignite or produce uneven burning. If you're unsure, it's better to allow extra drying time rather than risk poor performance.
Testing and Storage Methods
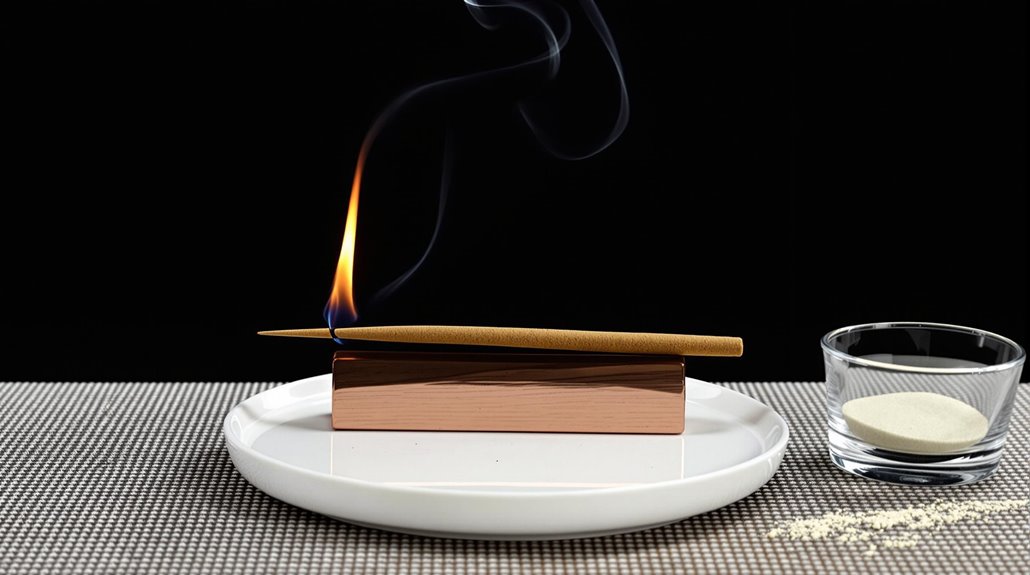
After completing the drying process, you'll need to put your sandalwood incense through several quality control tests before storing it properly. Start by conducting a burn test - this meditative process helps you evaluate how your Natural Incense performs. Light the incense and observe if it burns evenly, produces a steady stream of smoke, and forms solid ash without sparking or crumbling.
Next, time the burn duration of your sandalwood blend. Traditional Japanese incense like Tabu No Ki serves as a good reference point for ideal burn times. You'll want to adjust your recipe if the incense burns too quickly or slowly. Test the fragrance profile in different settings - what smells perfect in your workshop might perform differently in larger or more ventilated spaces.
Once you're satisfied with the test results, proper storage becomes critical. Place your sandalwood incense in an airtight container that blocks out light and moisture. Keep it away from heat sources and direct sunlight to preserve the delicate aromatic compounds. This careful storage method will help maintain the incense's quality and keep it fresh for extended periods.
Related posts