7 Easy Steps to Make Your Own Aromatic Sandalwood Candle
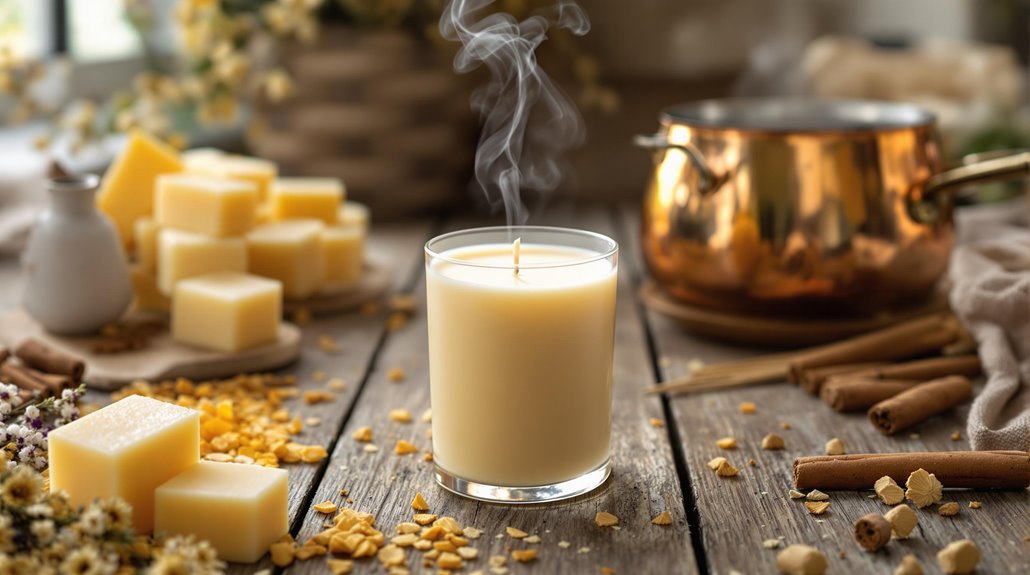
To make your own aromatic sandalwood candle, you'll need soy wax flakes, sandalwood essential oil, a double boiler, glass containers, and wicks with holders. Start by melting the wax between 160-170°F in your double boiler setup. Once melted, add your sandalwood oil blend (about 11 drops per pound of wax). While the wax melts, secure your wick to the container's bottom using a metal tab and holder to keep it centered. Pour the scented wax carefully into your container and let it cool completely. Trim the wick to 1/4 inch before lighting. These basic steps just scratch the surface of creating your perfect sandalwood sanctuary.
Gathering Your Essential Supplies
Before diving into your candle-making project, you'll need to gather all the essential supplies. Start by selecting either soy wax flakes or beeswax as your base material. You'll want to source high-quality sandalwood essential oils and vanilla extract to create your signature fragrance blend. Make sure you have a reliable double boiler, as this is vital for melting your wax safely and evenly.
Choose appropriate glass containers or jars that can withstand the heat of melted wax and provide enough space for your desired candle size. You'll also need proper wicks sized according to your container dimensions, along with wick holders to keep them centered while the wax sets. Don't forget essential tools like heat-resistant stirring utensils for mixing in fragrances and scissors for trimming wicks to the proper length.
Quality ingredients are key to creating a well-scented candle, so invest in pure essential oils rather than synthetic alternatives. Keep your workspace organized by gathering all materials before you begin the melting process. This preparation confirms a smooth candle-making experience and helps you avoid interruptions once you start working with the hot wax.
Preparing The Double Boiler Setup
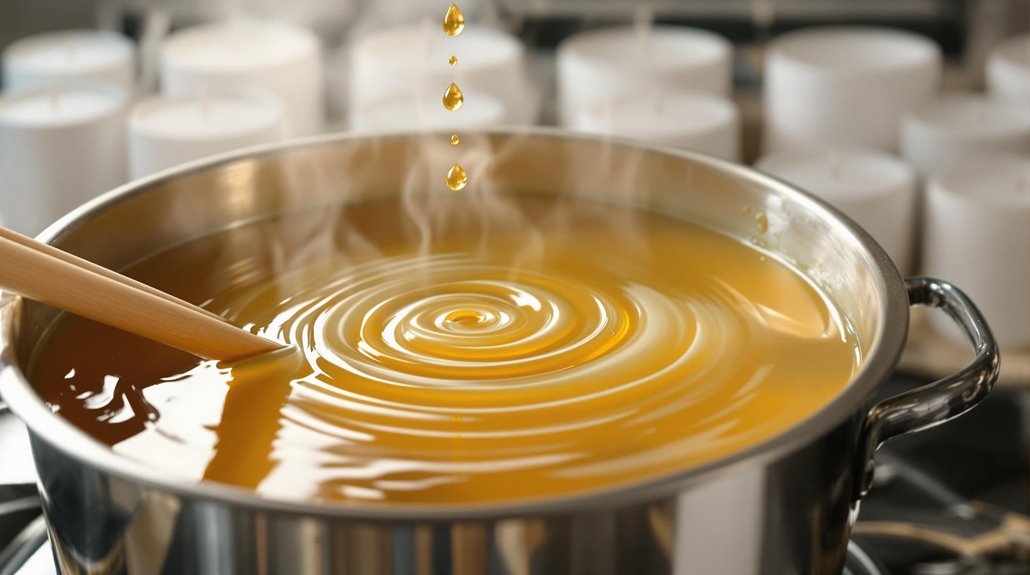
Setting up your double boiler correctly guarantees safe and even wax melting. To create your double boiler setup, fill a large pot with about 2 inches of water and place it on your stovetop. Select a heat-safe pouring pitcher or smaller pot that fits comfortably inside the larger pot without touching the bottom.
When you make homemade candles, it's essential to ensure your double boiler setup maintains proper temperature control. Place your wax in the smaller container and position it inside the larger pot. Make sure the water level reaches about halfway up the sides of your inner container without risking overflow when boiling.
Keep the water at a gentle simmer, not a rolling boil, as excessive heat can compromise your wax quality. You'll want to maintain a temperature between 160-180°F for ideal melting. Position a candy thermometer on the inner container to monitor the wax temperature throughout the process. If you notice the water level getting low during melting, carefully add more hot water to maintain the proper level. This setup creates a consistent, indirect heat source that prevents the wax from scorching or reaching its flash point.
Melting The Joy Wax
With your double boiler properly set up, it's time to melt the Joy Wax for your sandalwood candle. Start by adding a small amount of Joy Wax pellets to your double boiler's upper container - about 2 pounds should work well for making two medium-sized candles at home. Keep the water in the lower pot at a gentle simmer, not a rolling boil.
Monitor the wax temperature using your candy thermometer. You'll want to maintain a temperature between 160-170°F (71-77°C) throughout the melting process. Stir the wax gently every few minutes with a heat-resistant spatula to guarantee even heating. Joy Wax typically takes about 15-20 minutes to melt completely.
Don't rush this process by increasing the heat - a slow, steady melt will result in a longer burn time for your finished candle. Watch for the wax to become completely clear and liquid, with no solid pieces remaining. If you notice any unmelted particles, continue heating while stirring until they dissolve. Once your wax is fully melted and at the correct temperature, you're ready to add your fragrance oil.
Adding Fragrance And Color
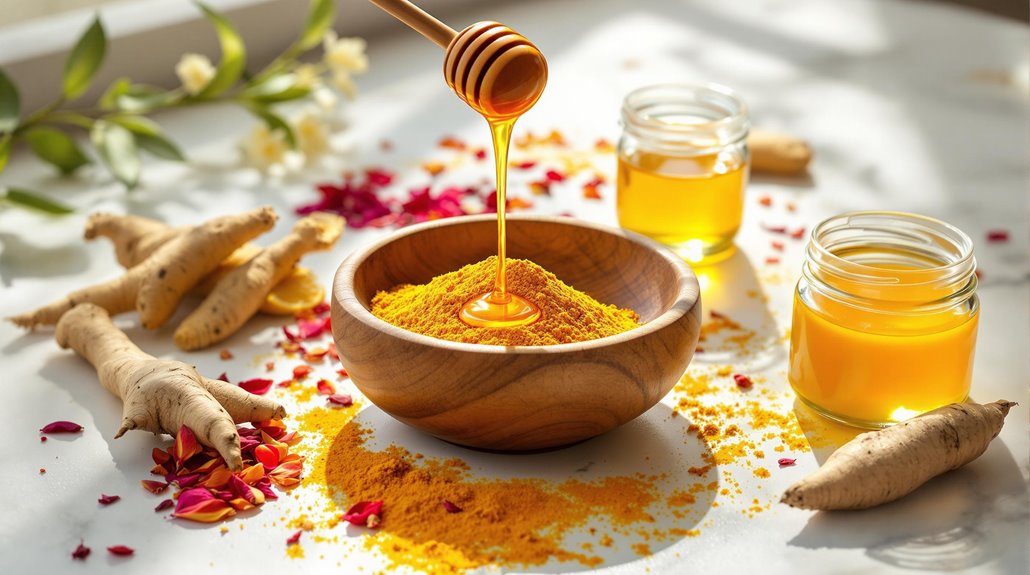
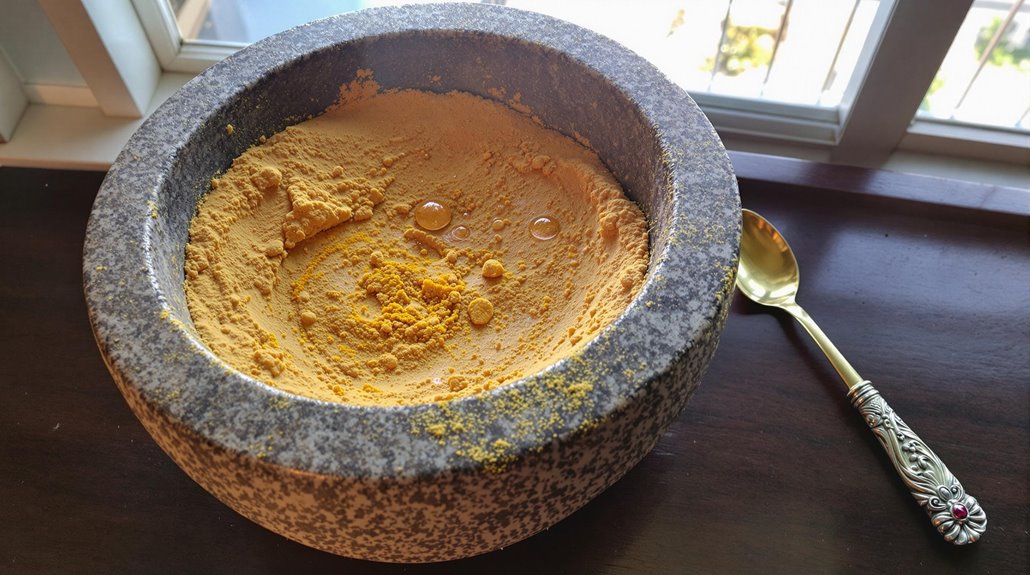
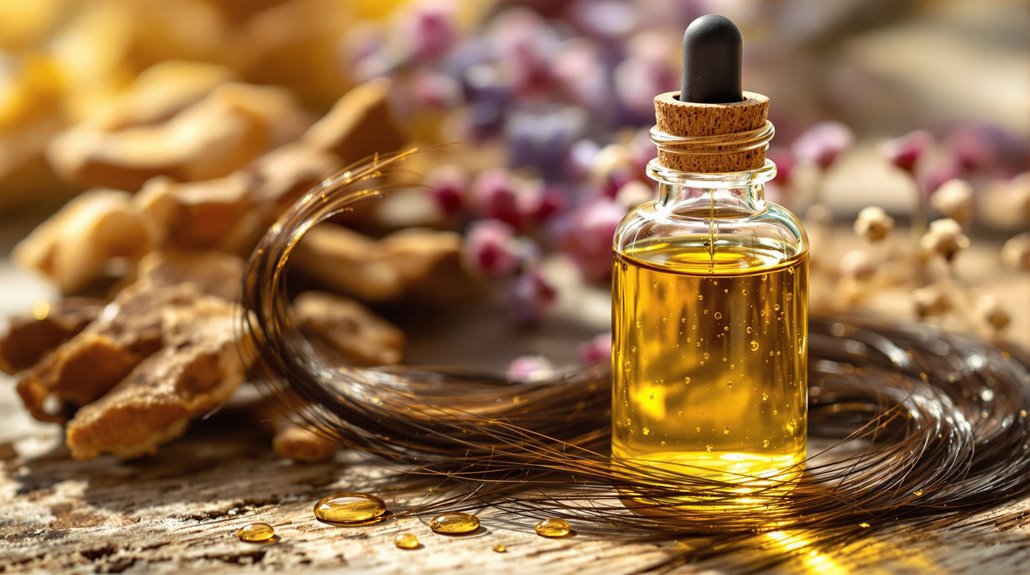
The perfect sandalwood candle comes to life when you carefully blend your fragrance oils into the melted wax. To create a balanced aroma, you'll need 11 drops of lavender essential oil, 11 drops of sandalwood fragrance oil, and 8 drops of ylang ylang essential oil. This combination totals 30 drops, falling within the ideal range of 30-35 drops for sufficient scent throw.
If you're not fond of this specific blend, you can customize your fragrance combination. Remember that essential oils offer therapeutic benefits that synthetic fragrance oils don't provide. When selecting your oils, consider both the scent profile you want to achieve and any potential wellness benefits you're seeking. However, always consult a physician about health-related concerns.
To enhance your candle's visual appeal, incorporate natural colorants using candle dye blocks. Add these to your melted wax along with your chosen fragrance combination. You'll need twice the amount of wax as your container's capacity since the volume reduces when melted. This provides you with enough wax to fill your container while maintaining the proper fragrance-to-wax ratio.
Setting Up The Wicks
Proper wick placement serves as the foundation for a well-burning sandalwood candle. When setting up your wicks for your Sandalwood Candle, you'll need to follow this step-by-step guide to achieve professional results worthy of a candle-making business.
First, measure your container's diameter and select the appropriate wick size. For sandalwood-scented candles, you'll typically need a slightly larger wick due to the oil's density. Center your wick by attaching a metal tab to its base, then secure it with a small drop of melted wax. Make sure to position the tab exactly in the middle of your container.
To keep the wick perfectly straight, use a wick holder or pencil to wrap the top portion around. You can also use wick stickers or hot glue to affix the metal tab more firmly to the container's bottom. If you're making multiple candles, make sure to maintain consistent wick placement across all containers. For containers wider than 3 inches, you'll need to install multiple wicks spaced evenly apart. Always trim your wicks to 1/4 inch before the first burn to guarantee proper flame height and prevent smoking.
Pouring Your Layered Candle
Now that your wicks are perfectly positioned, creating beautiful layers in your sandalwood candle requires precise temperature control and timing. Pour your first wax layer at 185°F, filling the container about one-third full. Let it cool until a slight film forms on top, about 10 minutes, before adding your fragrance oils.
Mix your essential oil and Sandalwood Fragrance into the remaining melted wax at 175°F, using 1 ounce of fragrance per pound of wax. You'll want to stir gently for 2 minutes to guarantee even distribution without creating air bubbles. Pour your second layer slowly over the back of a spoon to prevent the wax from breaking through the first layer.
Wait until the second layer develops a thin skin, then add your final pour. This top layer should be slightly cooler at 165°F to prevent sinking and ascertain proper adhesion. If you're adding any decorative elements like dried flowers, place them now while the wax is still liquid. Let your candle cure for 24-48 hours at room temperature, keeping it away from drafts or extreme temperatures that could affect the layering process.
Curing And Safety Guidelines
Patient crafters understand that curing is a critical final step in candle making. Your sandalwood oil candle needs 2-4 weeks to properly cure, ensuring ideal hardening and scent throw. During this time, store your candle in a cool, dry place away from direct sunlight.
Once your candle is ready for use, follow essential safety guidelines to maximize enjoyment and minimize risks. Before each use, trim the wick to 1/4 inch to prevent smoking and dripping. Don't burn your candle for longer than 4 hours at a time, and always place it away from drafts and flammable objects. Keep your sandalwood candle out of reach of children and pets.
Watch for warning signs during use. If you notice unusual behavior like flickering or popping, extinguish the flame immediately. Always put out the candle when the melted wax pool reaches the container's edge. While sandalwood oil is known for its aromatic properties, consult your personal physician about any specific health concerns. This guide isn't intended as medical advice, but rather as a crafting resource to help you safely enjoy your handmade candle.
Related posts