3 DIY Sandalwood Soap Recipes to Eliminate Toxins and Impurities
DIY sandalwood soap delivers powerful detoxifying benefits through three custom recipes. You'll start with a basic combination of Santalum album essential oil, coconut oil, and olive oil for a gentle cleansing bar. For deeper purification, add French green clay and patchouli to create a potent toxin-drawing formula. The third recipe incorporates ground oats and lavender with sandalwood for gentle exfoliation and enhanced antimicrobial properties. Each recipe requires precise measurements, proper mixing at trace, and 4-6 weeks of curing time. Following these time-tested techniques will reveal sandalwood's full skin-balancing and regenerative potential in your handcrafted soaps.
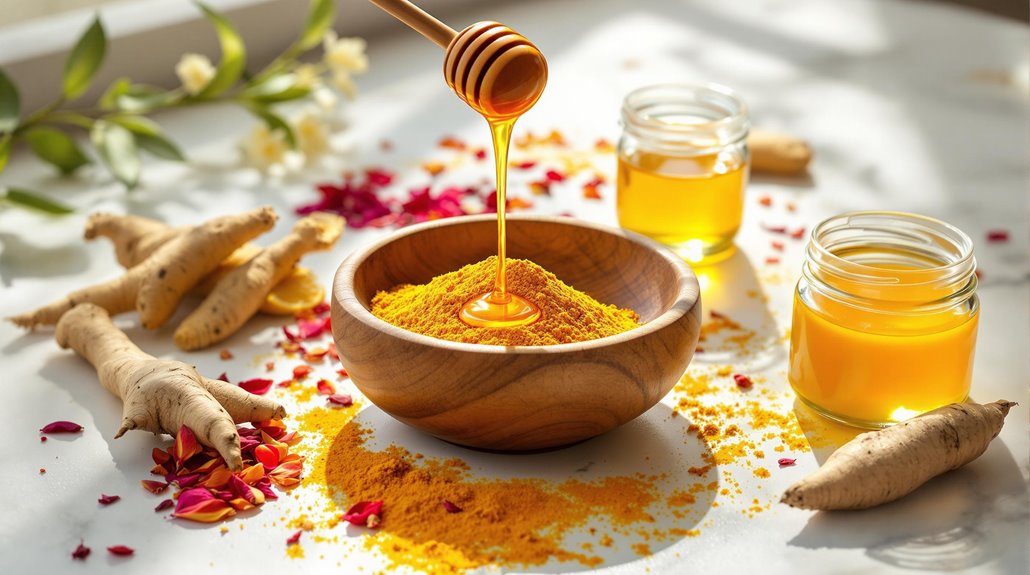
Essential Sandalwood Ingredients
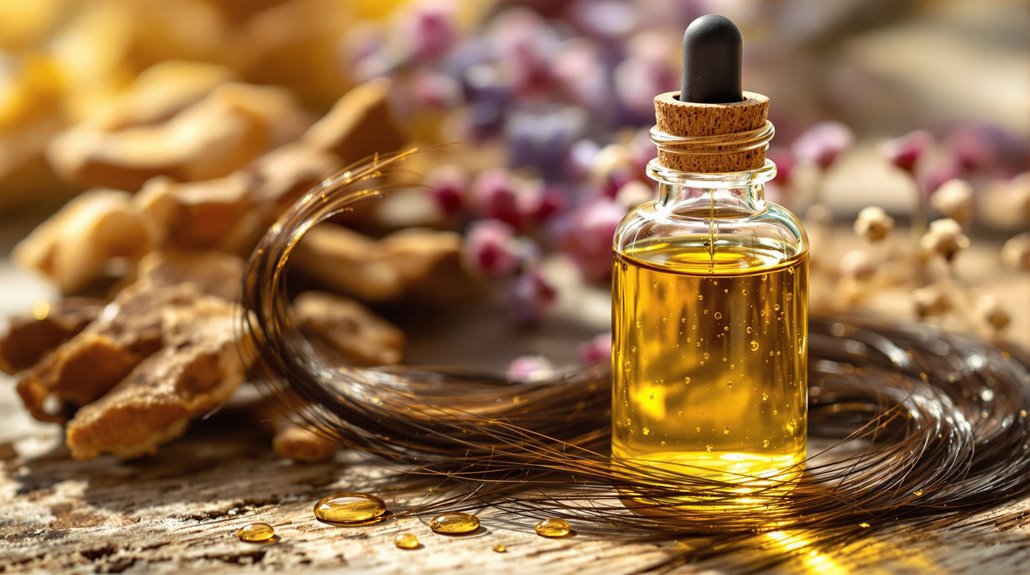
From the fragrant heartwood of the Santalum album tree comes the star ingredient of our soap recipe - pure sandalwood essential oil. You'll want to pair this luxurious oil with complementary ingredients that enhance its natural properties while creating a nourishing soap base.
Start with a blend of refined coconut oil and olive oil as your primary soap-making oils. These provide excellent cleansing properties and create a rich, creamy lather. Add shea butter for additional moisturizing benefits and to help the soap maintain its hardness. For the perfect aromatic balance, combine sandalwood essential oil with patchouli and lavender essential oils - this creates a grounding, woodsy scent that's both calming and sophisticated.
You'll need distilled water heated to 100 degrees F for the lye solution. If you're sensitive to essential oils or looking for a more economical option, you can substitute fragrance oil for the natural oils. However, keep in mind that pure essential oils offer therapeutic benefits that synthetic fragrances don't provide. Remember to measure all ingredients precisely using a digital scale to guarantee your soap reaches the proper saponification values.
Mixing and Pouring Techniques
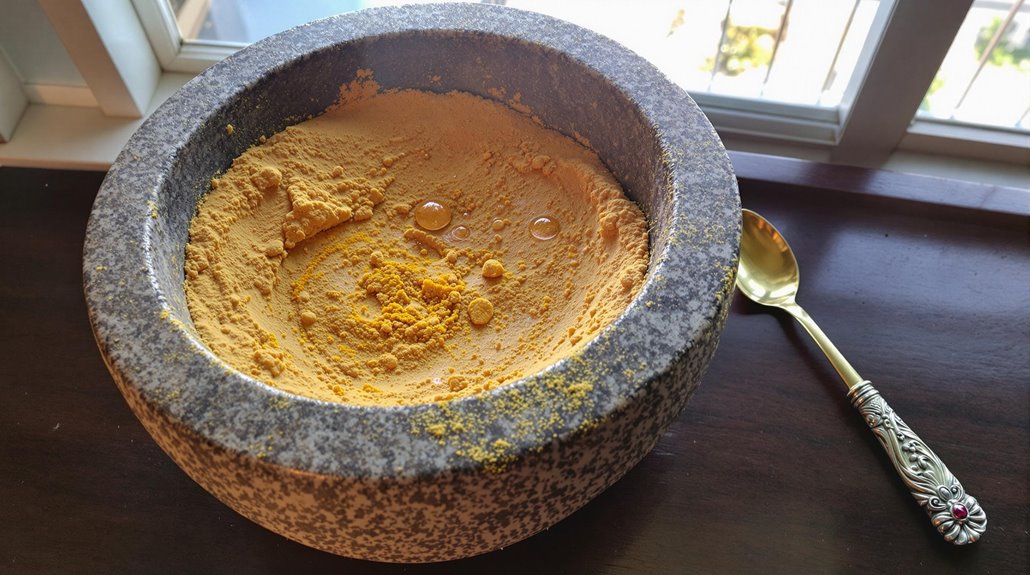
Now that you've gathered your sandalwood ingredients, commanding the proper mixing and pouring techniques will make or break your soap's final appearance. Start by thoroughly melting your oils in a double boiler, ensuring there aren't any solid particles remaining. Once your oils reach the proper temperature, carefully blend in your Sandalwood essential oil and jasmine essential oil combination.
For the cold process method, you'll need to properly combine your lye-water mixture with the melted oils until reaching trace. Create stunning layers by alternating your raw soap batter with French Green clay or other natural colorants. Pour your first layer into your soap molds, then sprinkle your chosen additives before adding the next layer. This technique works especially well for those with sensitive skin, as you can isolate stronger ingredients to specific sections.
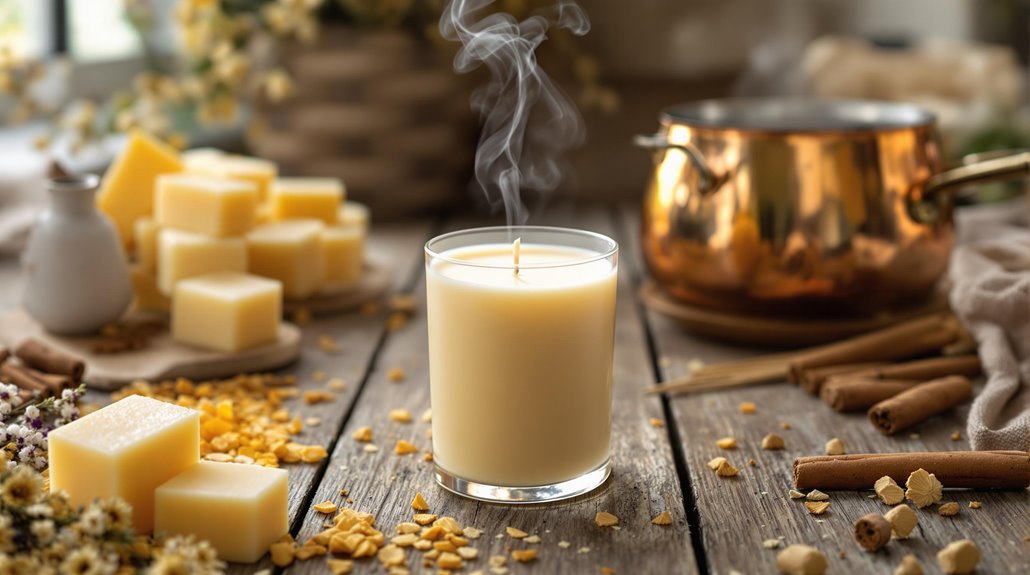
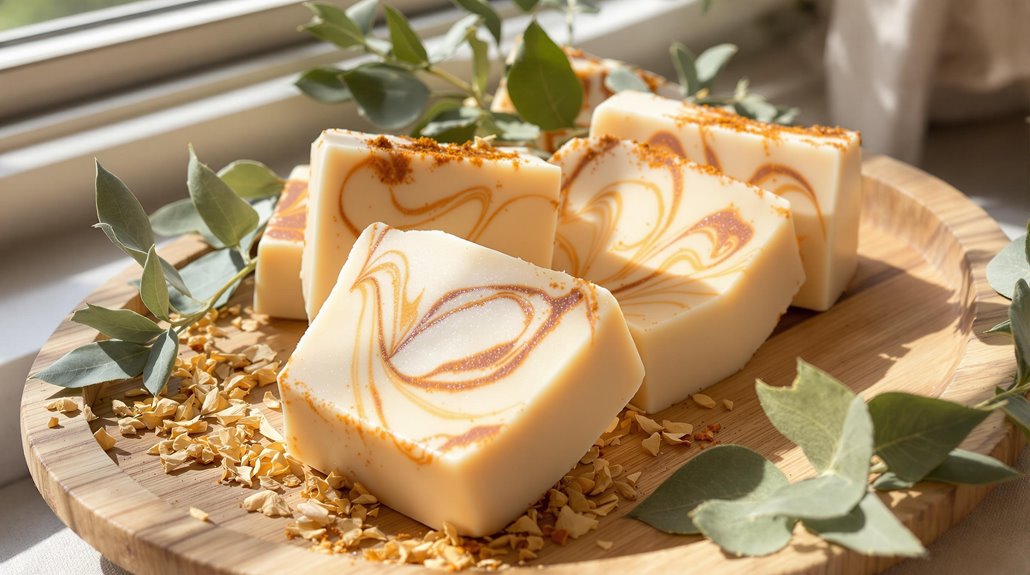
After pouring, immediately cover your soap molds and insulate them with towels. Store them in a dry location for 24 hours to complete saponification. Once hardened, carefully cut your loaf into uniform bars using a sharp soap cutter. Remember to wrap each bar individually to preserve the skin-loving properties of your sandalwood creation.
Curing and Storage Guidelines
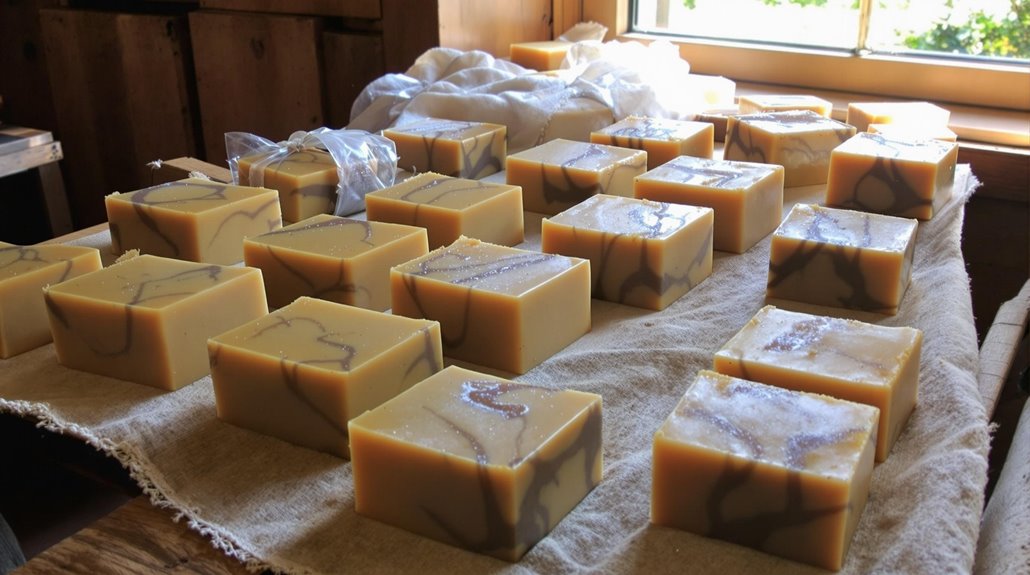
Proper curing and storage make all the difference in creating high-quality sandalwood soap that lasts. You'll need to cure your soap bars for 4-6 weeks to guarantee complete saponification and allow the desired fragrance and texture to develop fully. During this time, place your soap in a cool, dry area away from direct sunlight to maintain its quality.
When it comes to storage, you'll want to wrap each soap bar individually or in small packs. This protective barrier helps shield your soap from humidity and environmental contaminants that could compromise its integrity. Don't stack your cured bars directly on top of each other, as this can lead to warping or deformation of your carefully crafted soap.
Throughout the curing process, you'll need to monitor your soap regularly. Check for any signs of deterioration, such as discoloration or softening, which could indicate storage problems. By following these guidelines, you'll preserve your sandalwood soap's distinctive fragrance and ensure it maintains its quality over time. Remember, proper storage is just as important as the initial soap-making process in creating a product you'll be proud to use or share.
Related posts